Behind the Bend Table

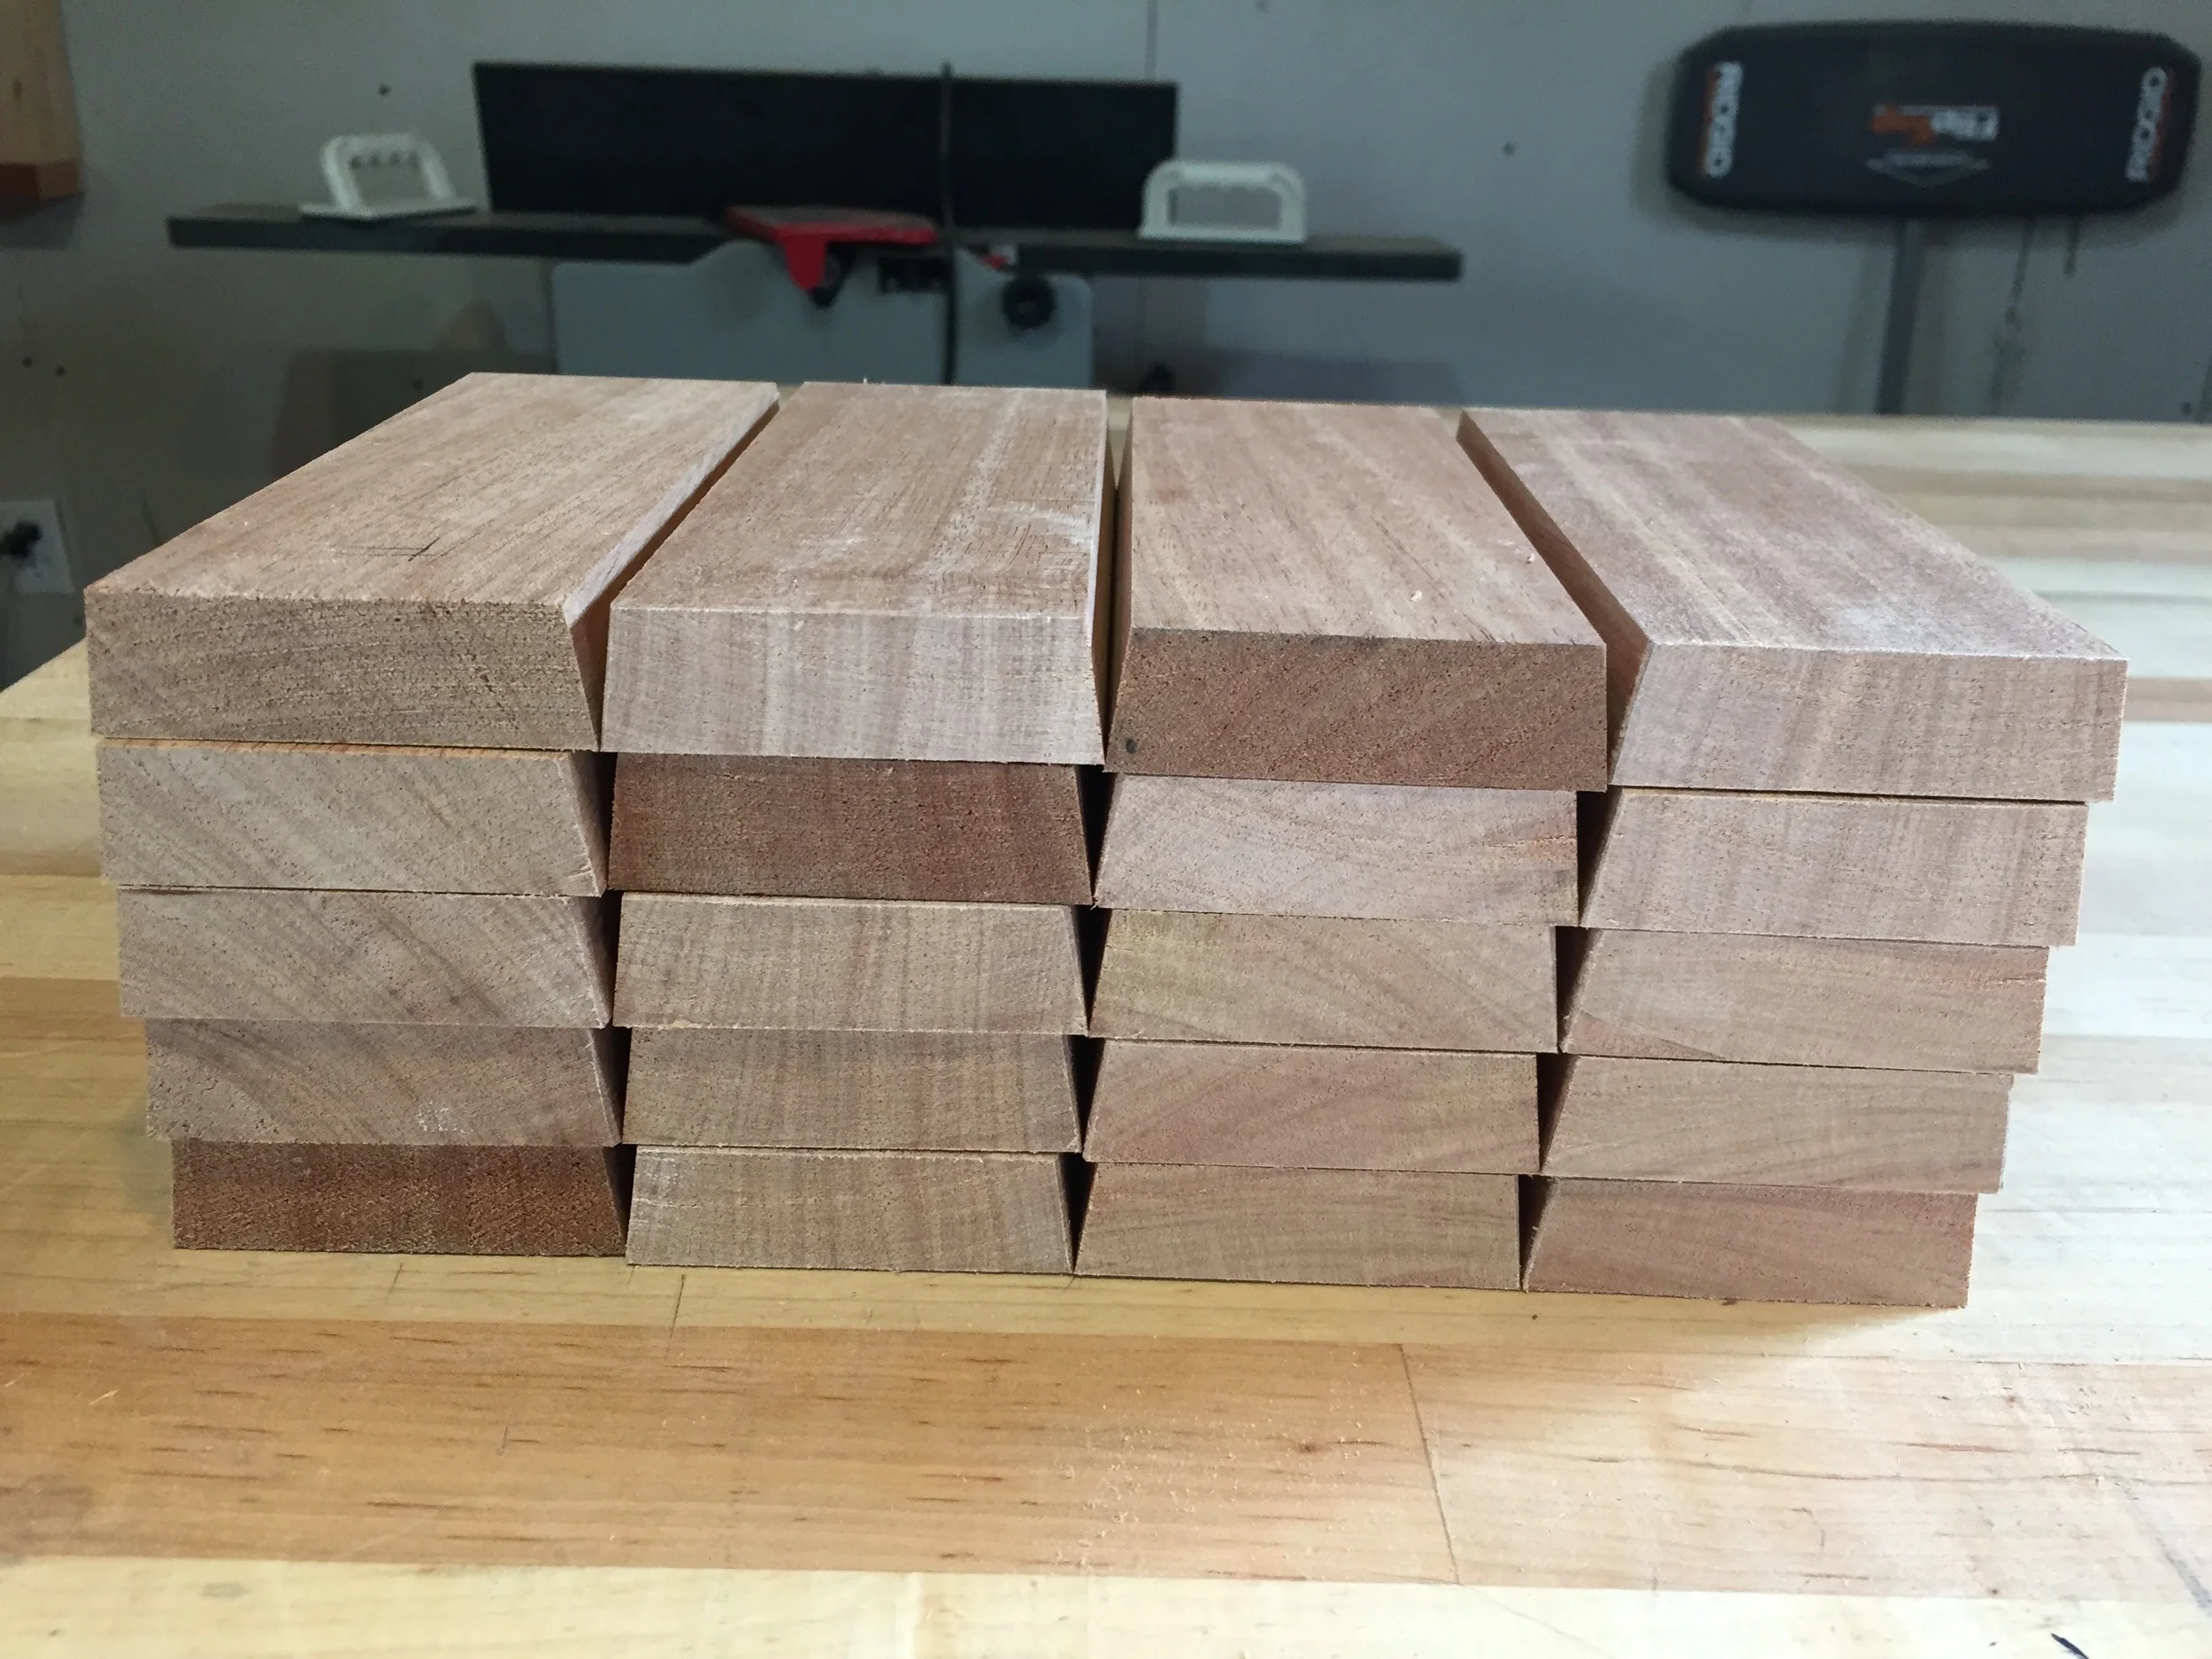
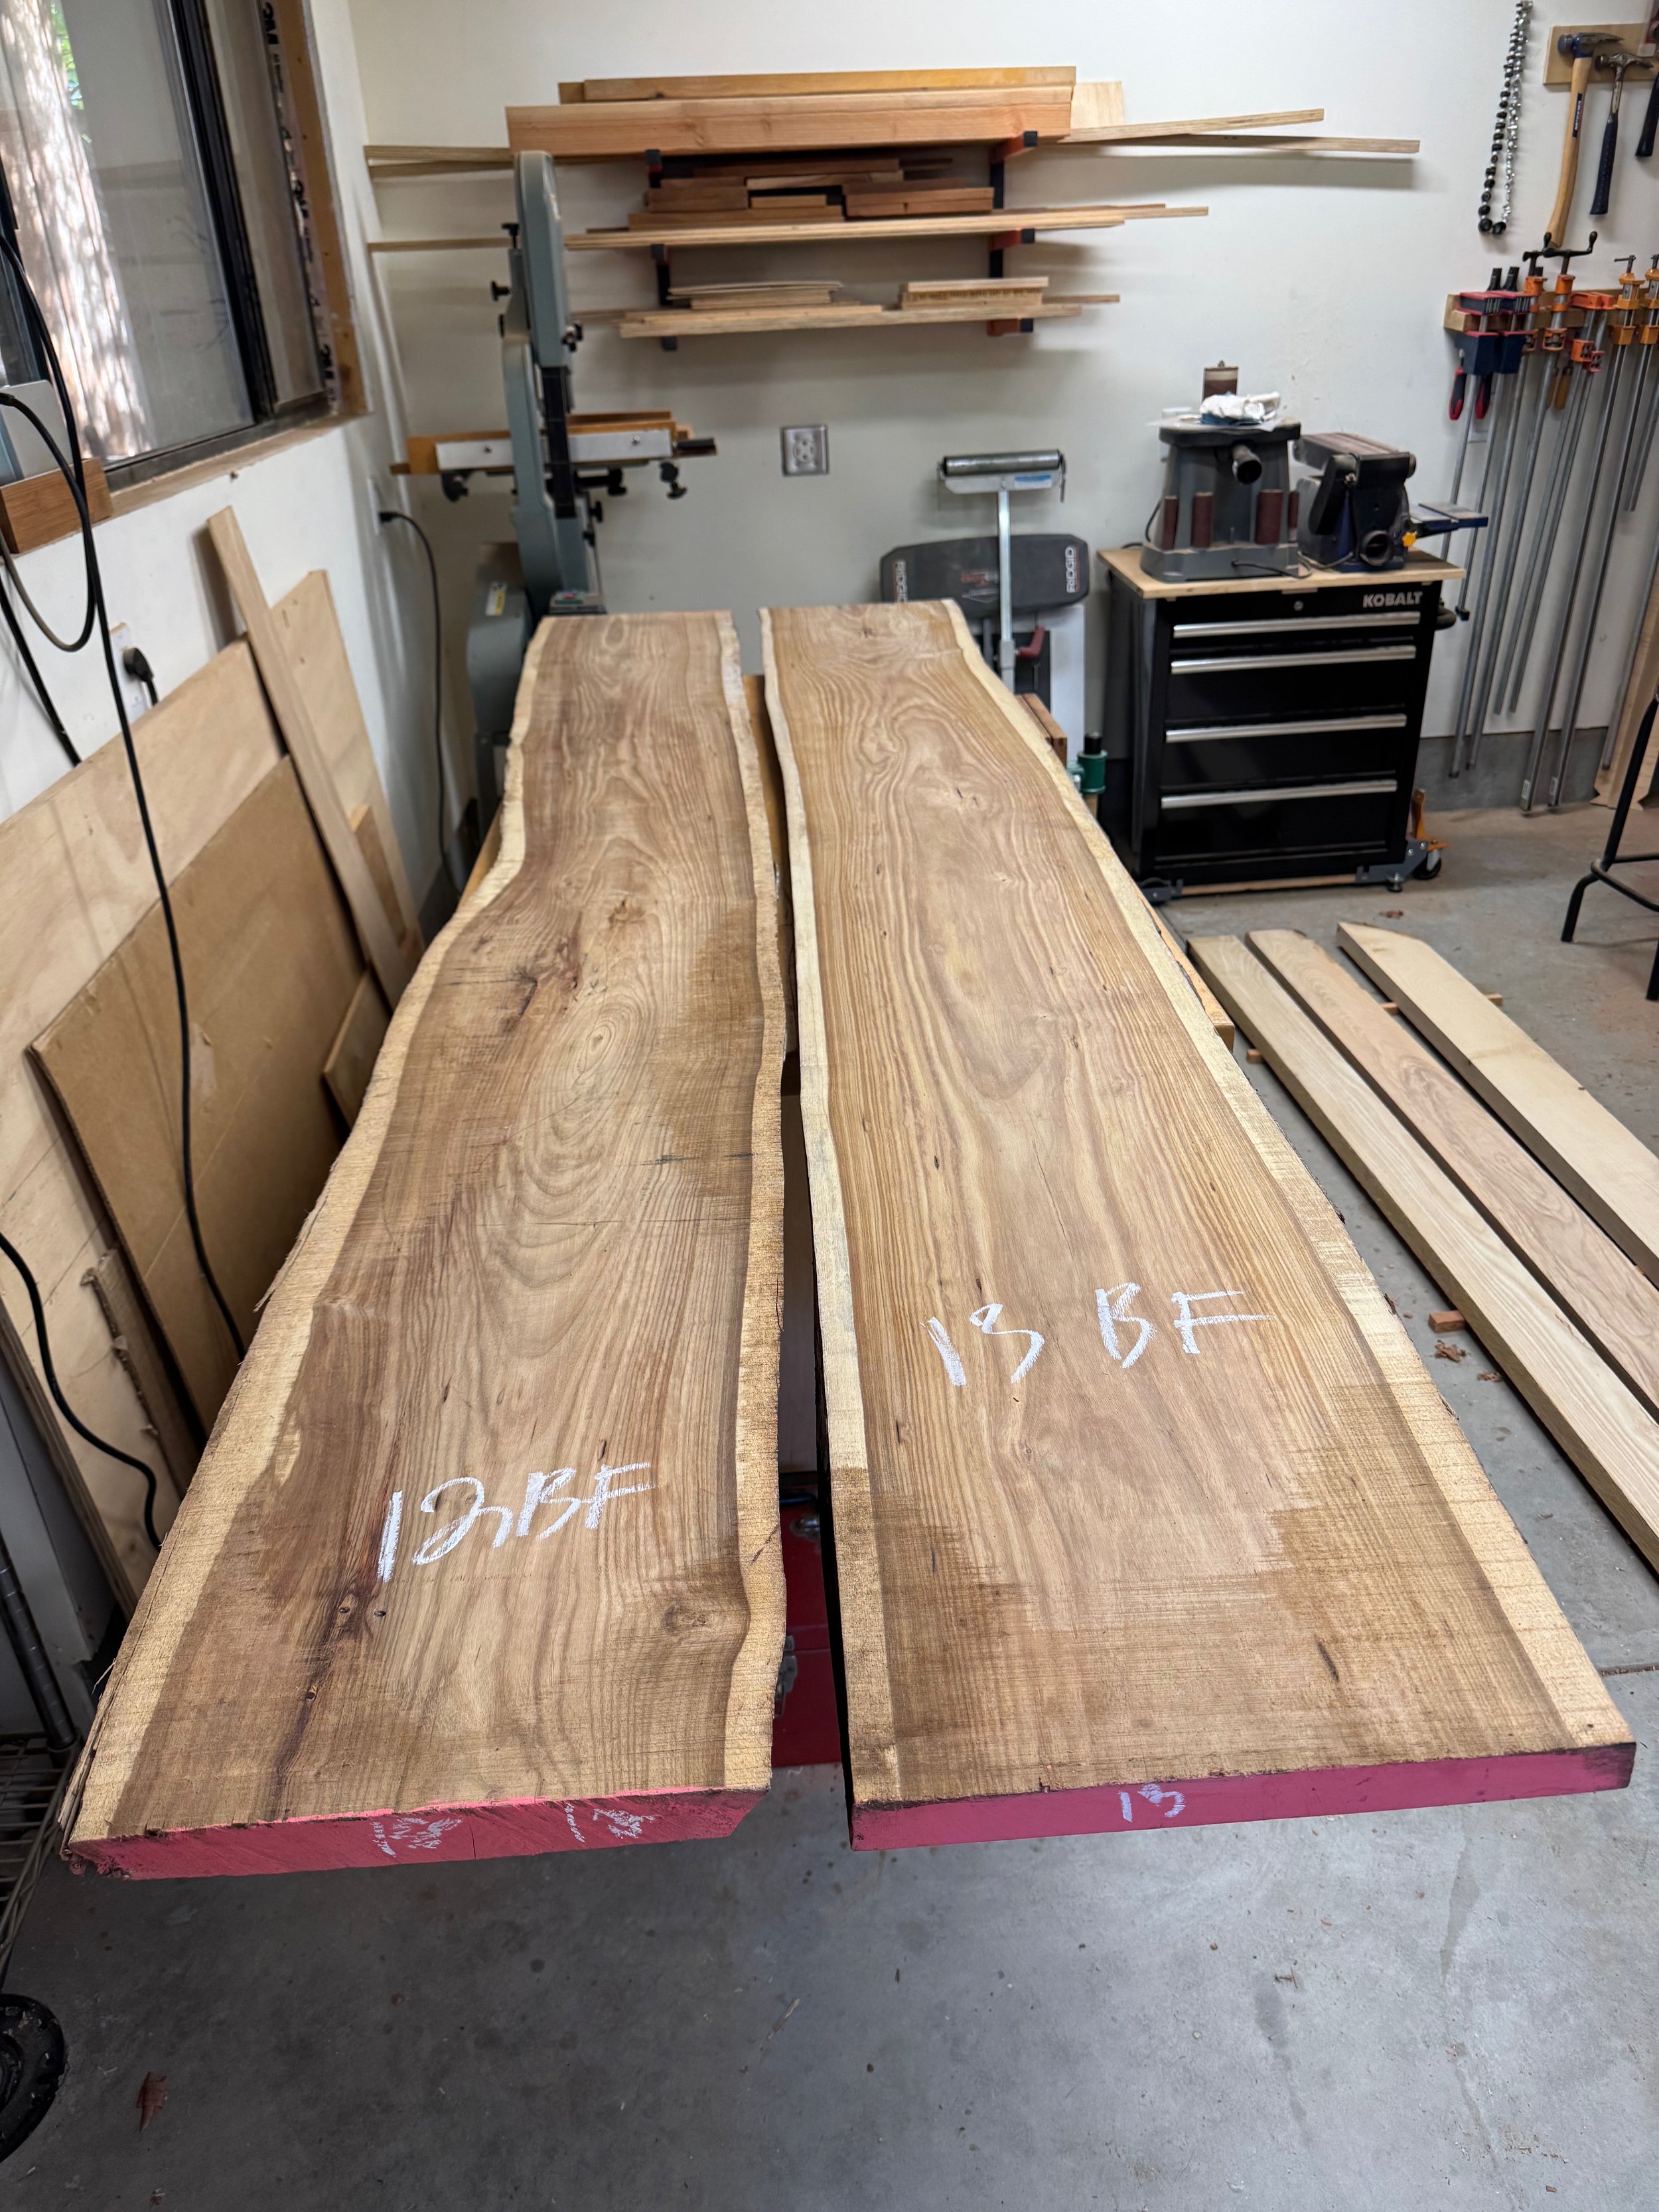
Bringing the slabs home

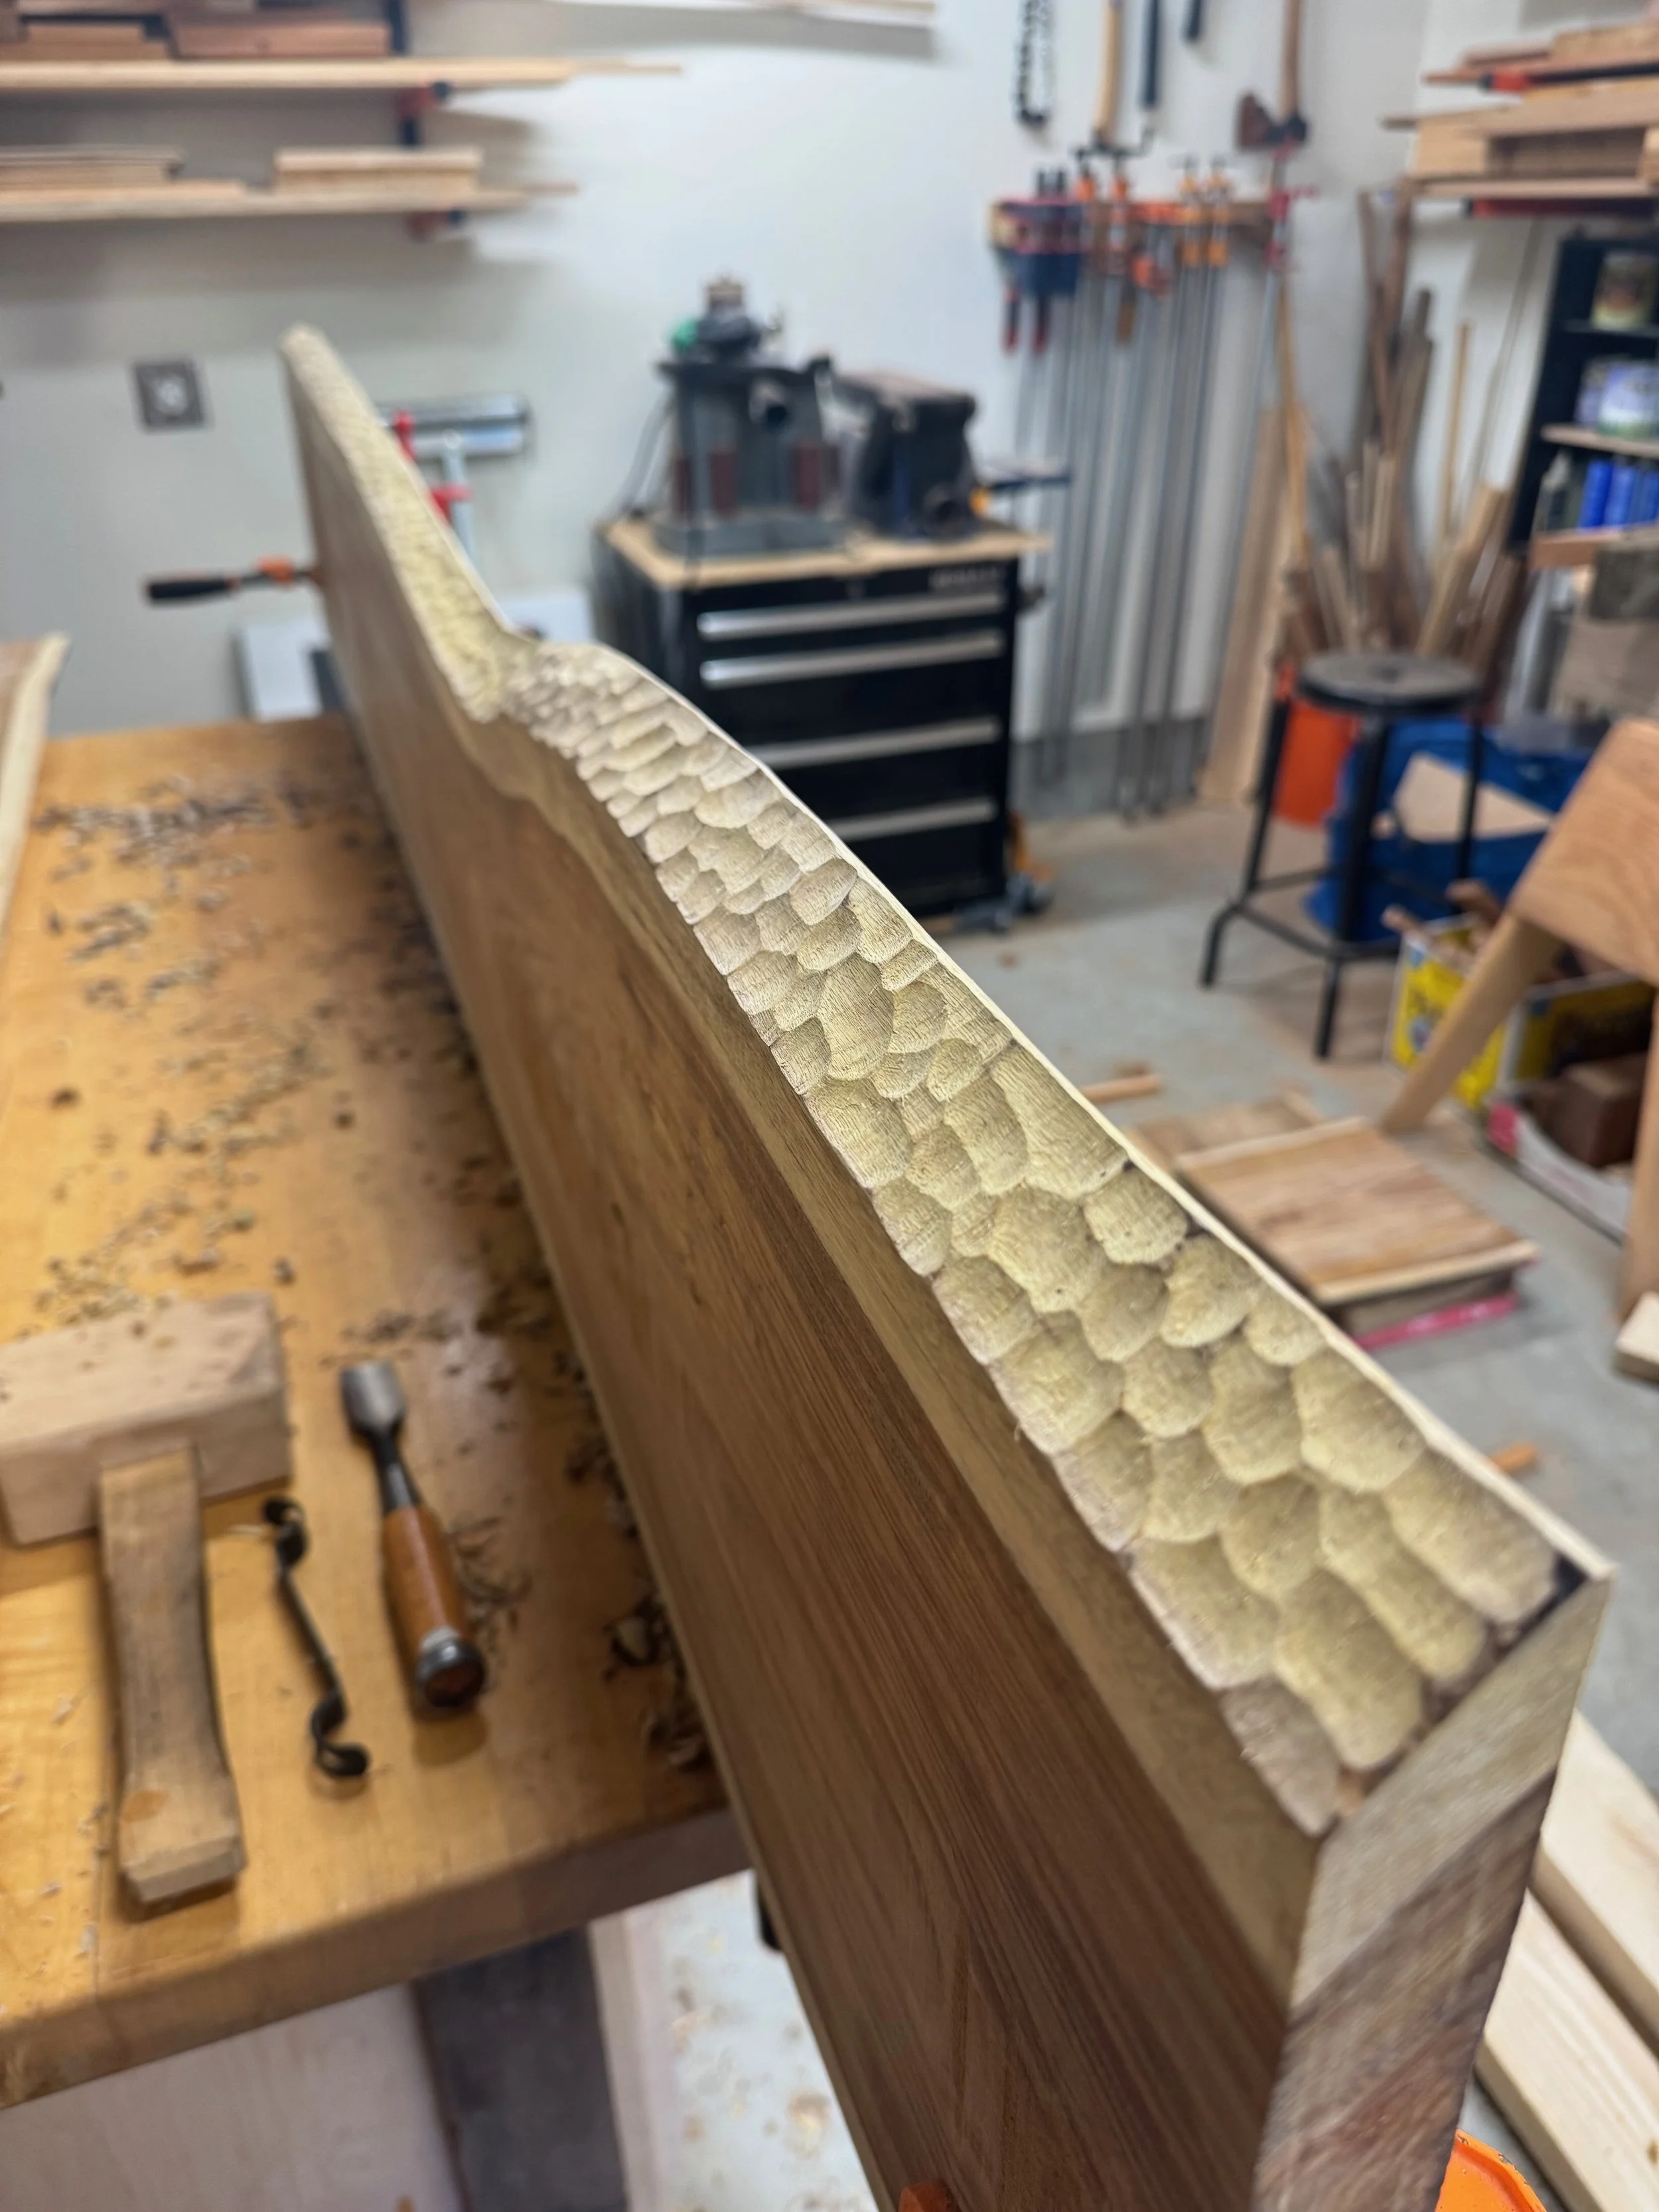
Chiseling the edges for a hammered look

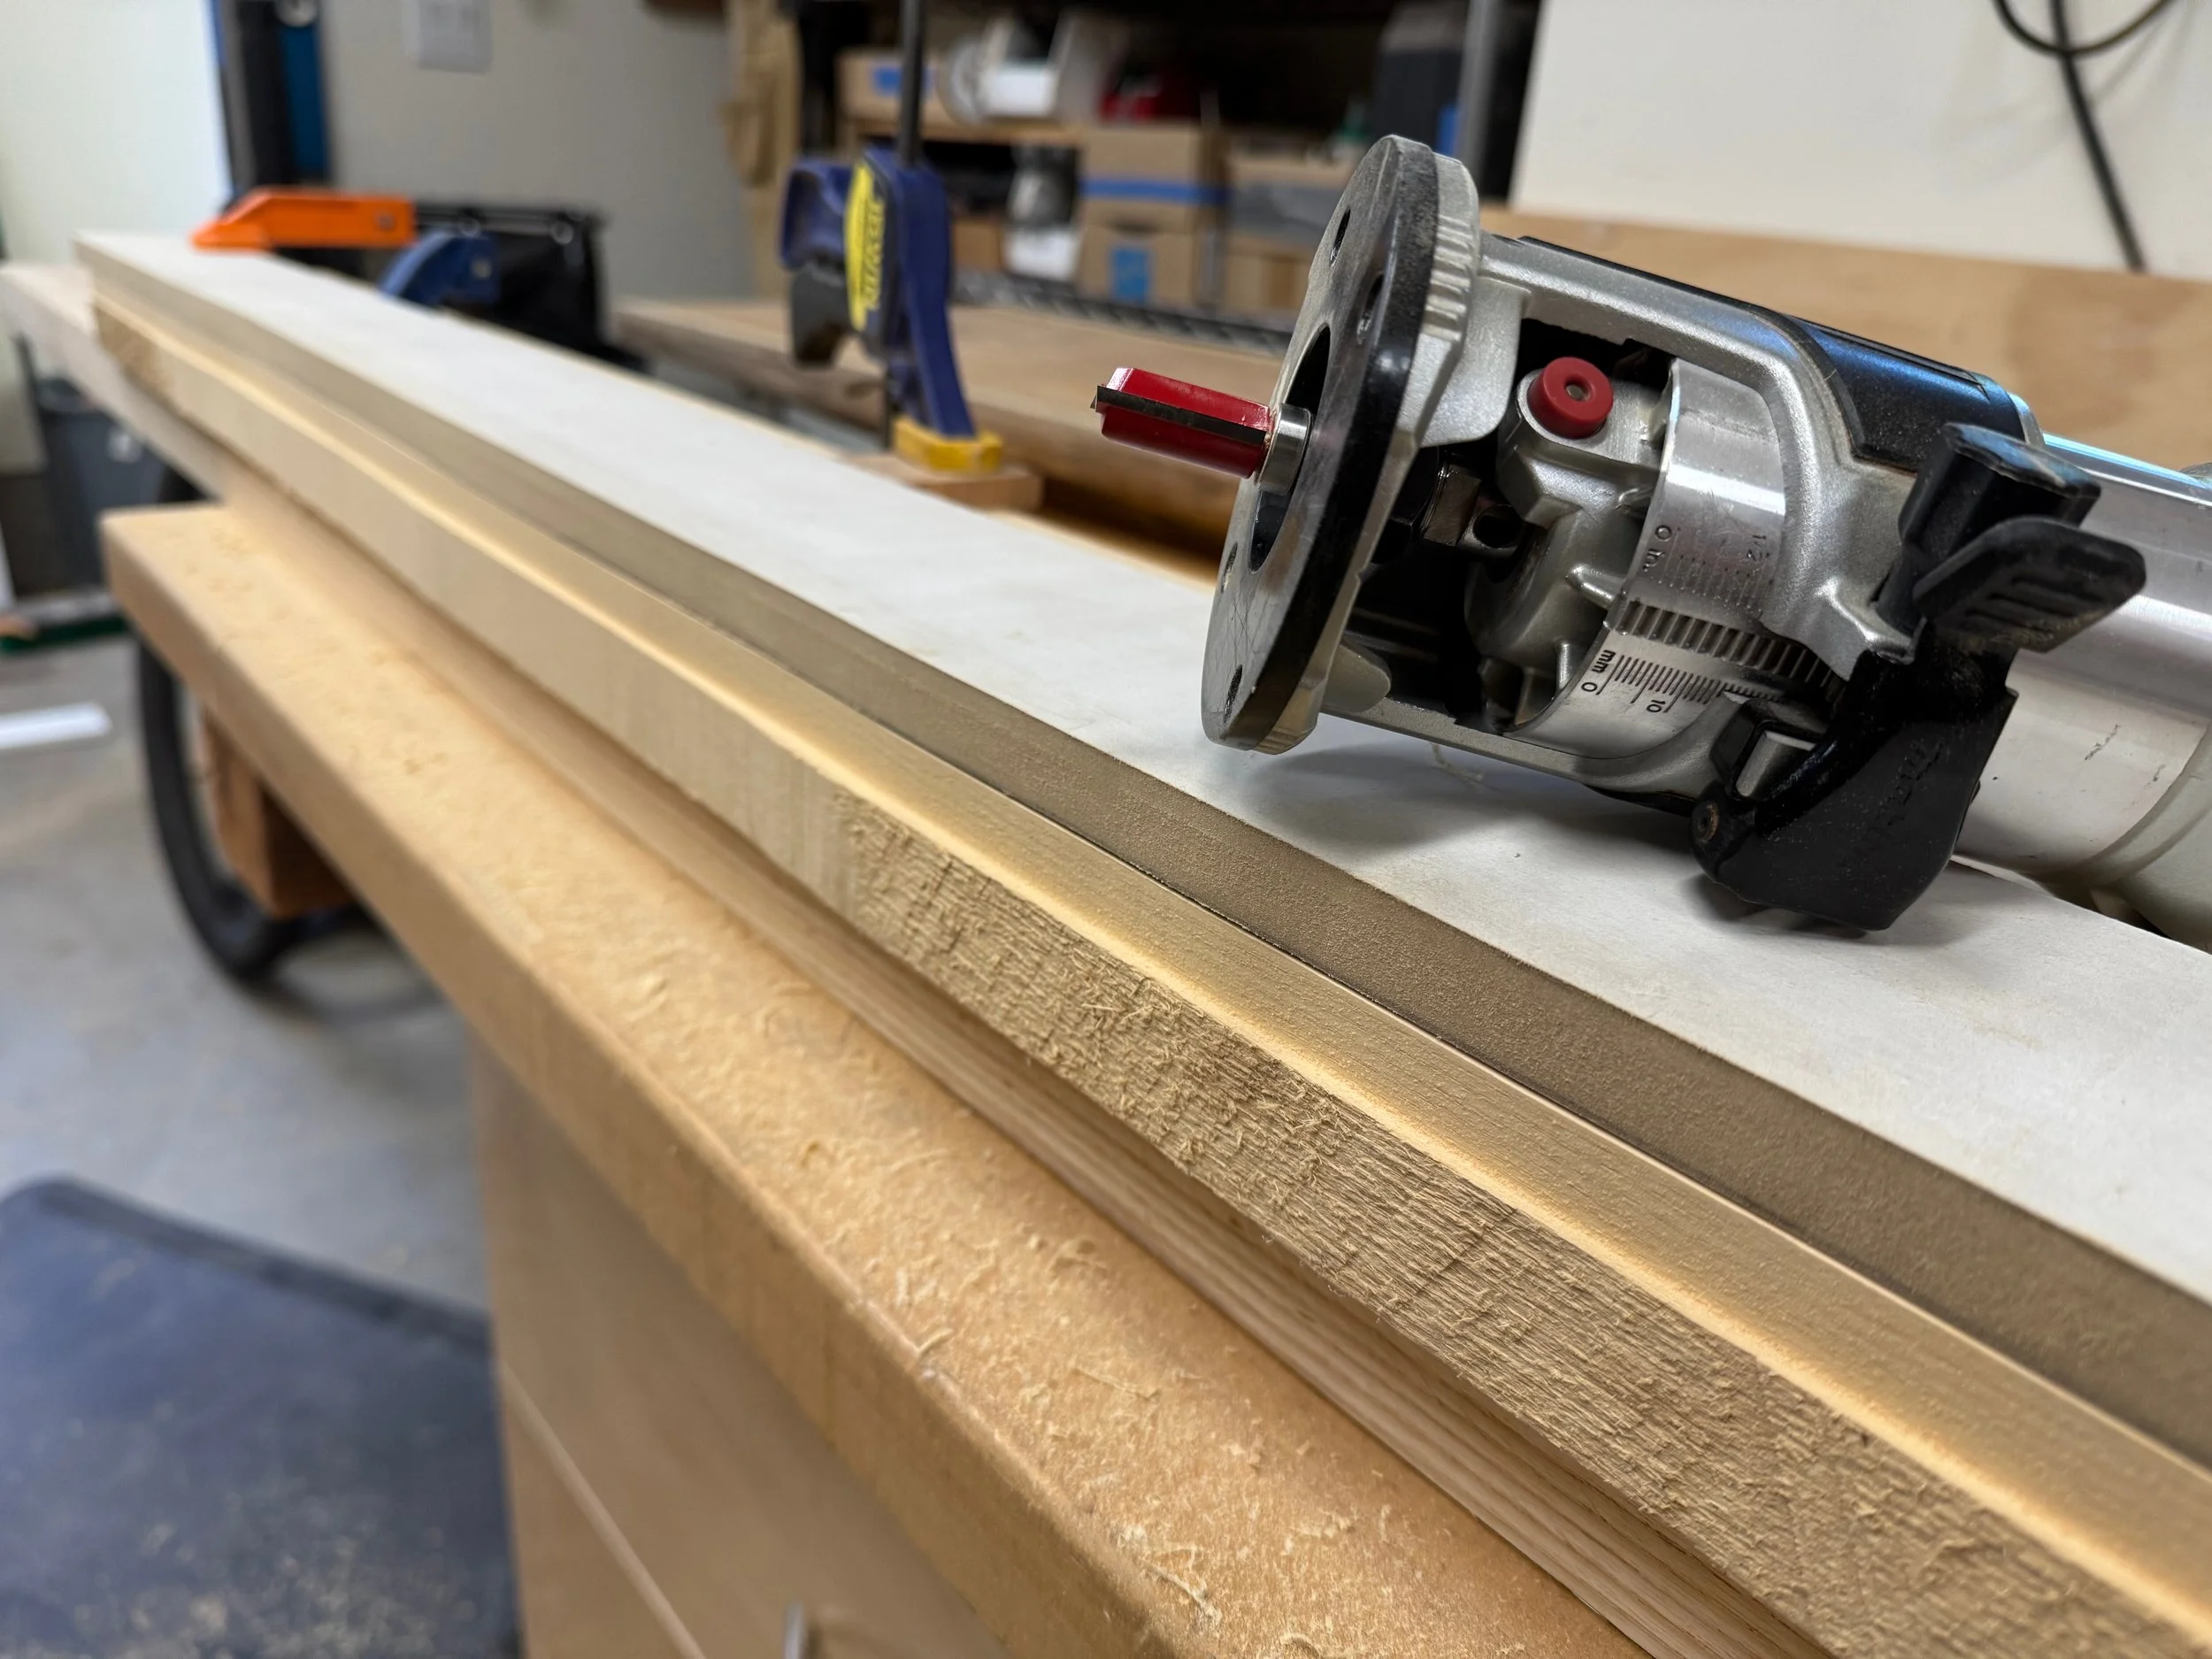
Using a template and router to transfer the inner live edges of the slabs onto the connective piece of ash

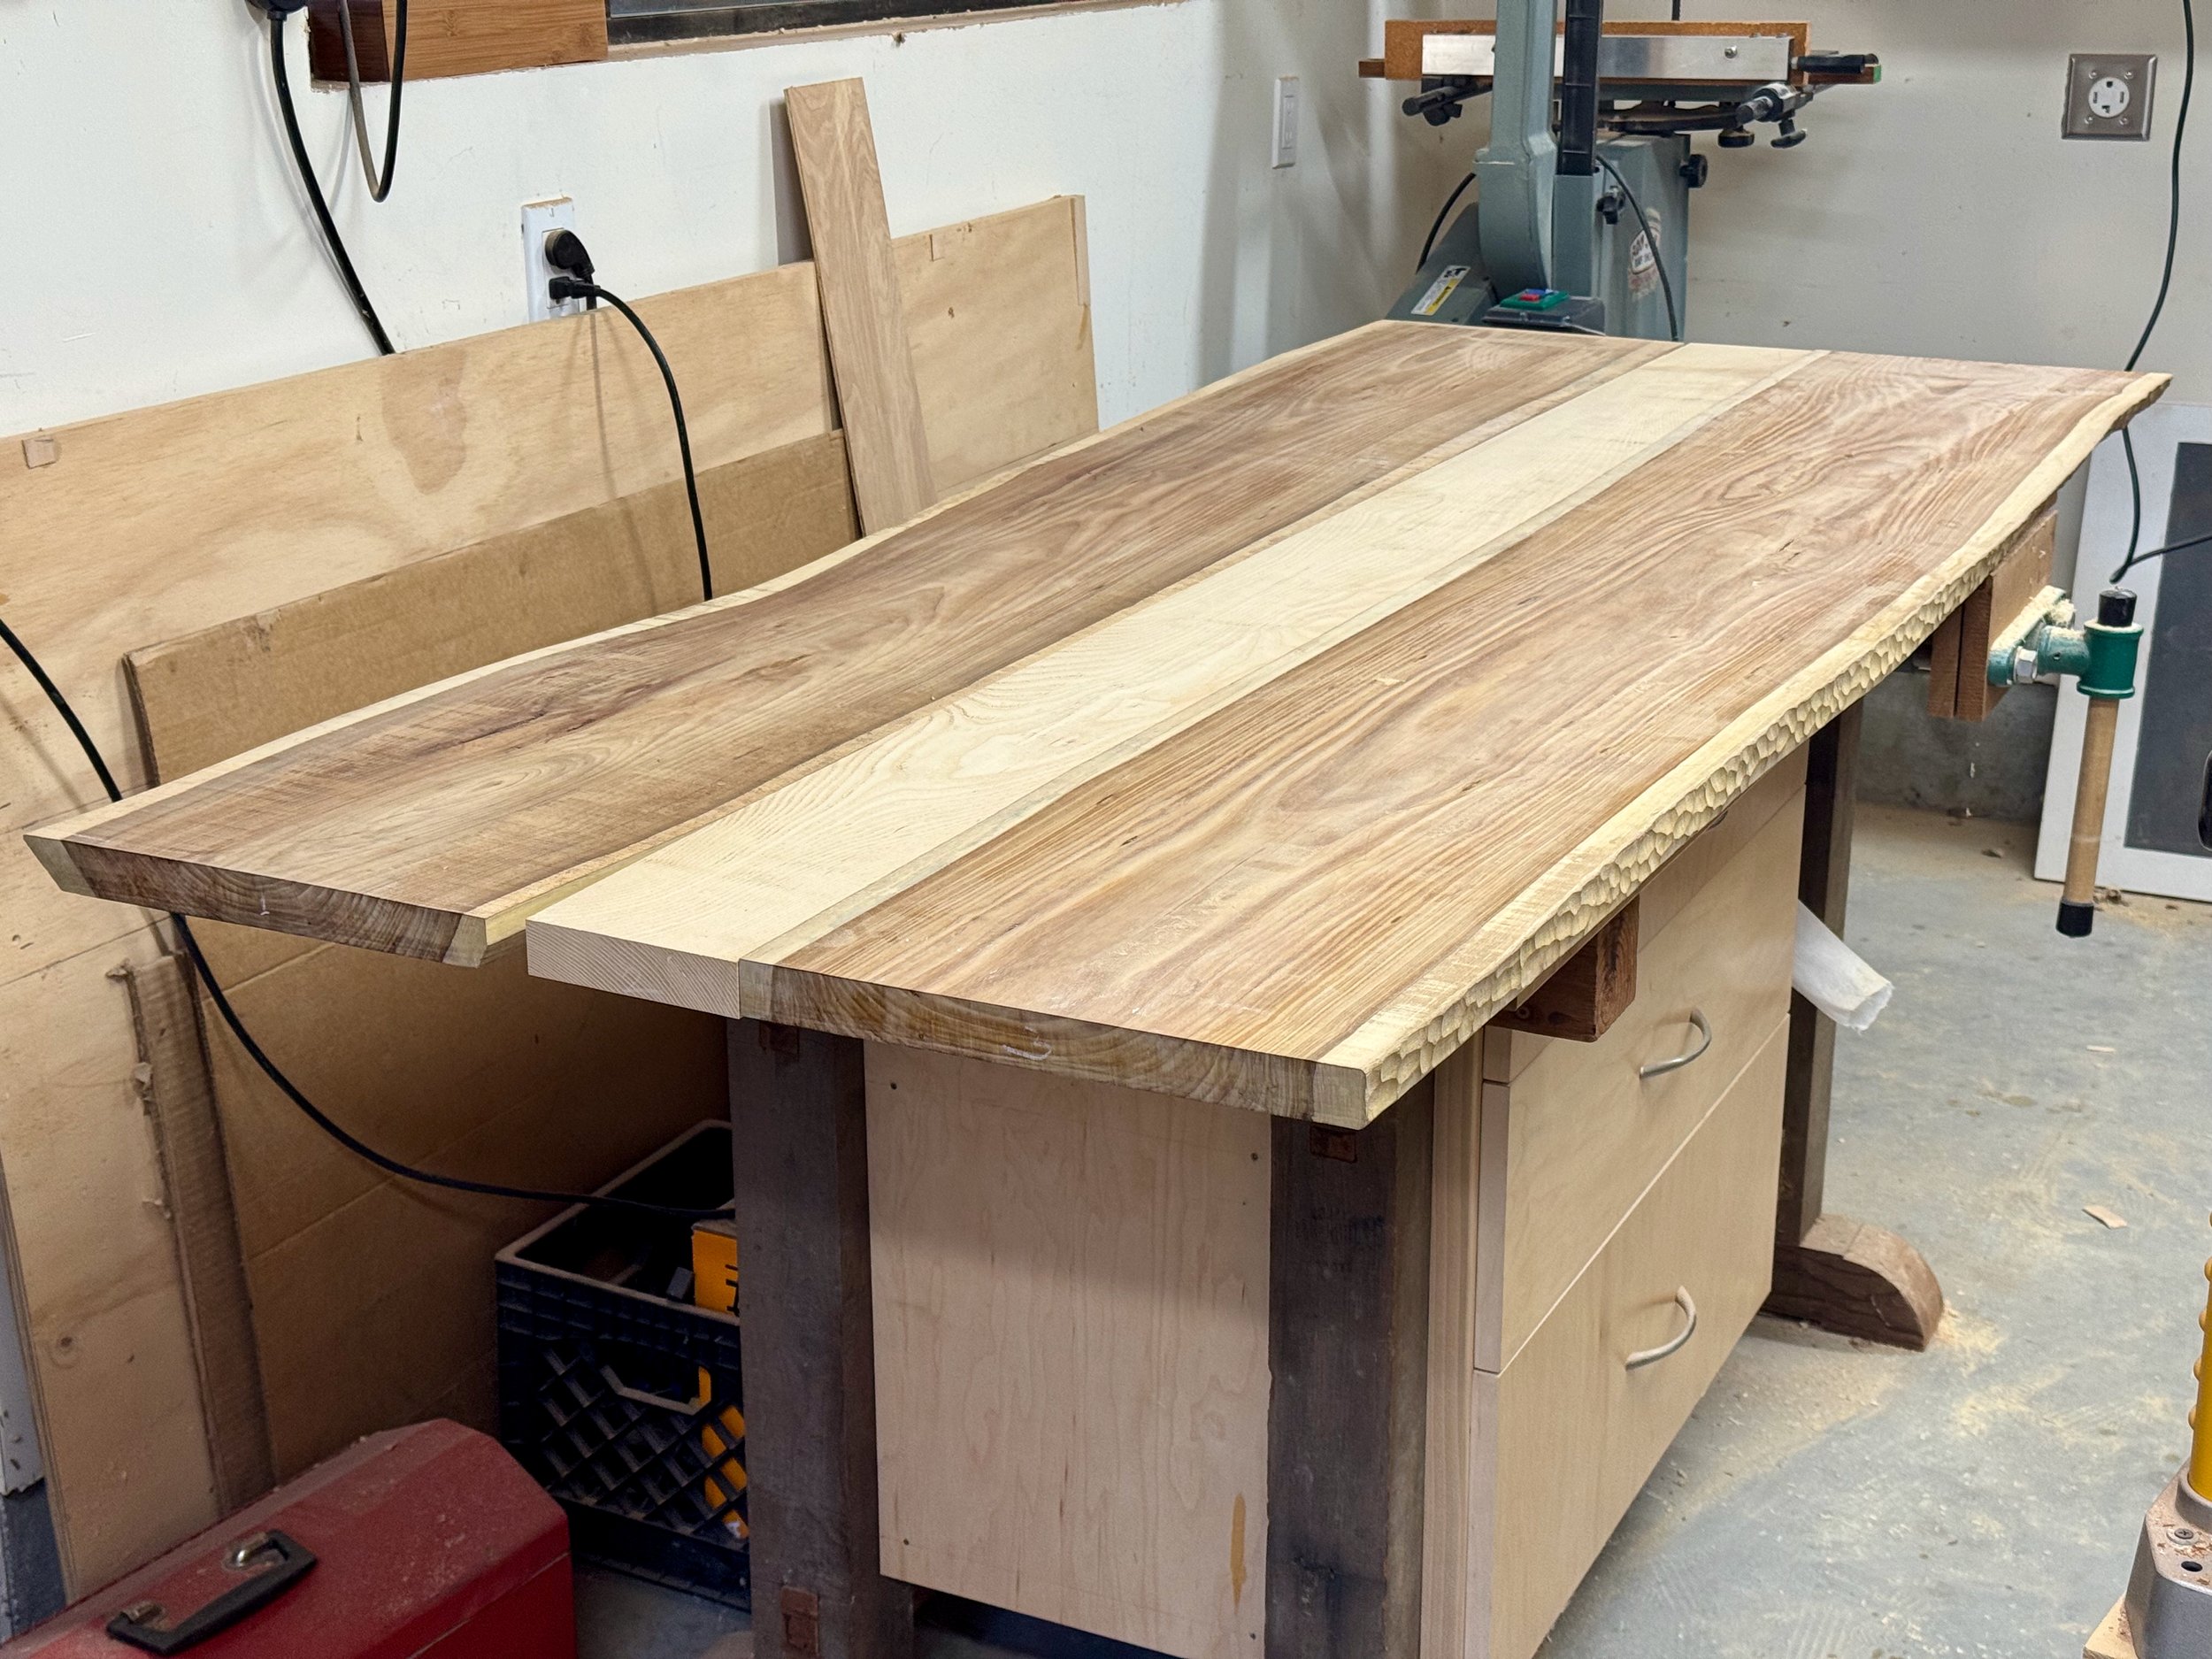
Two out of three fitting together like puzzle pieces

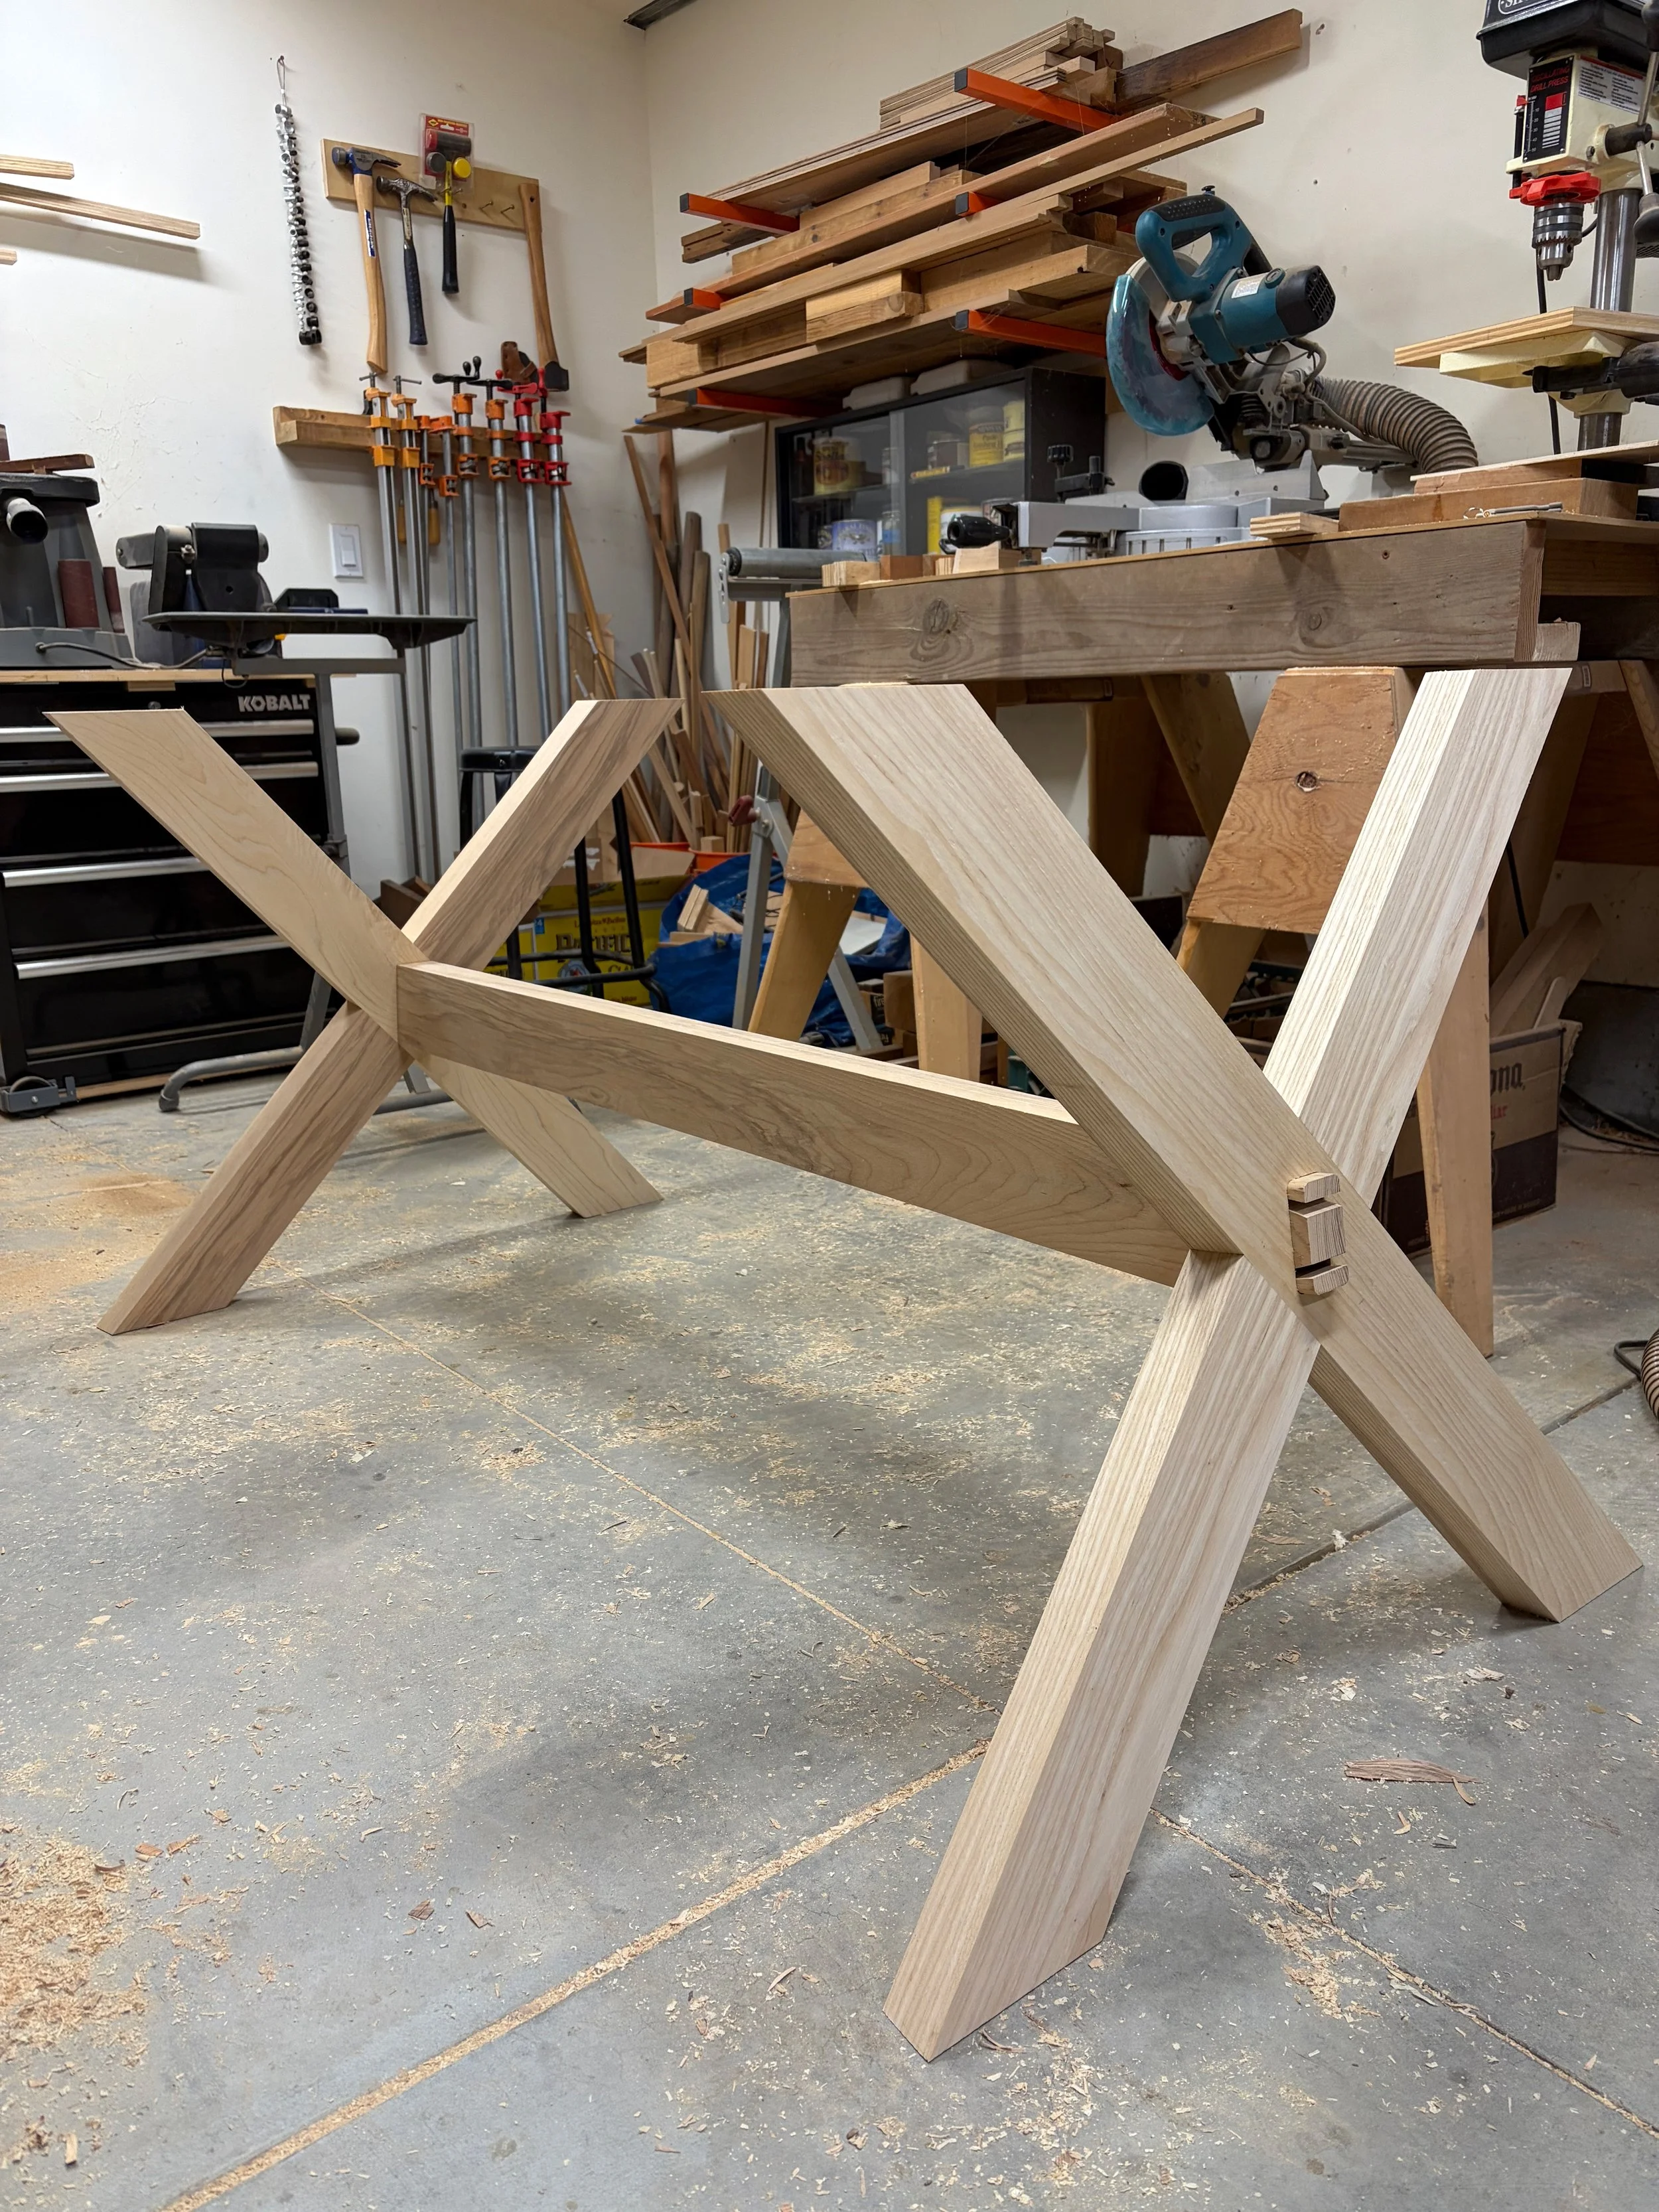
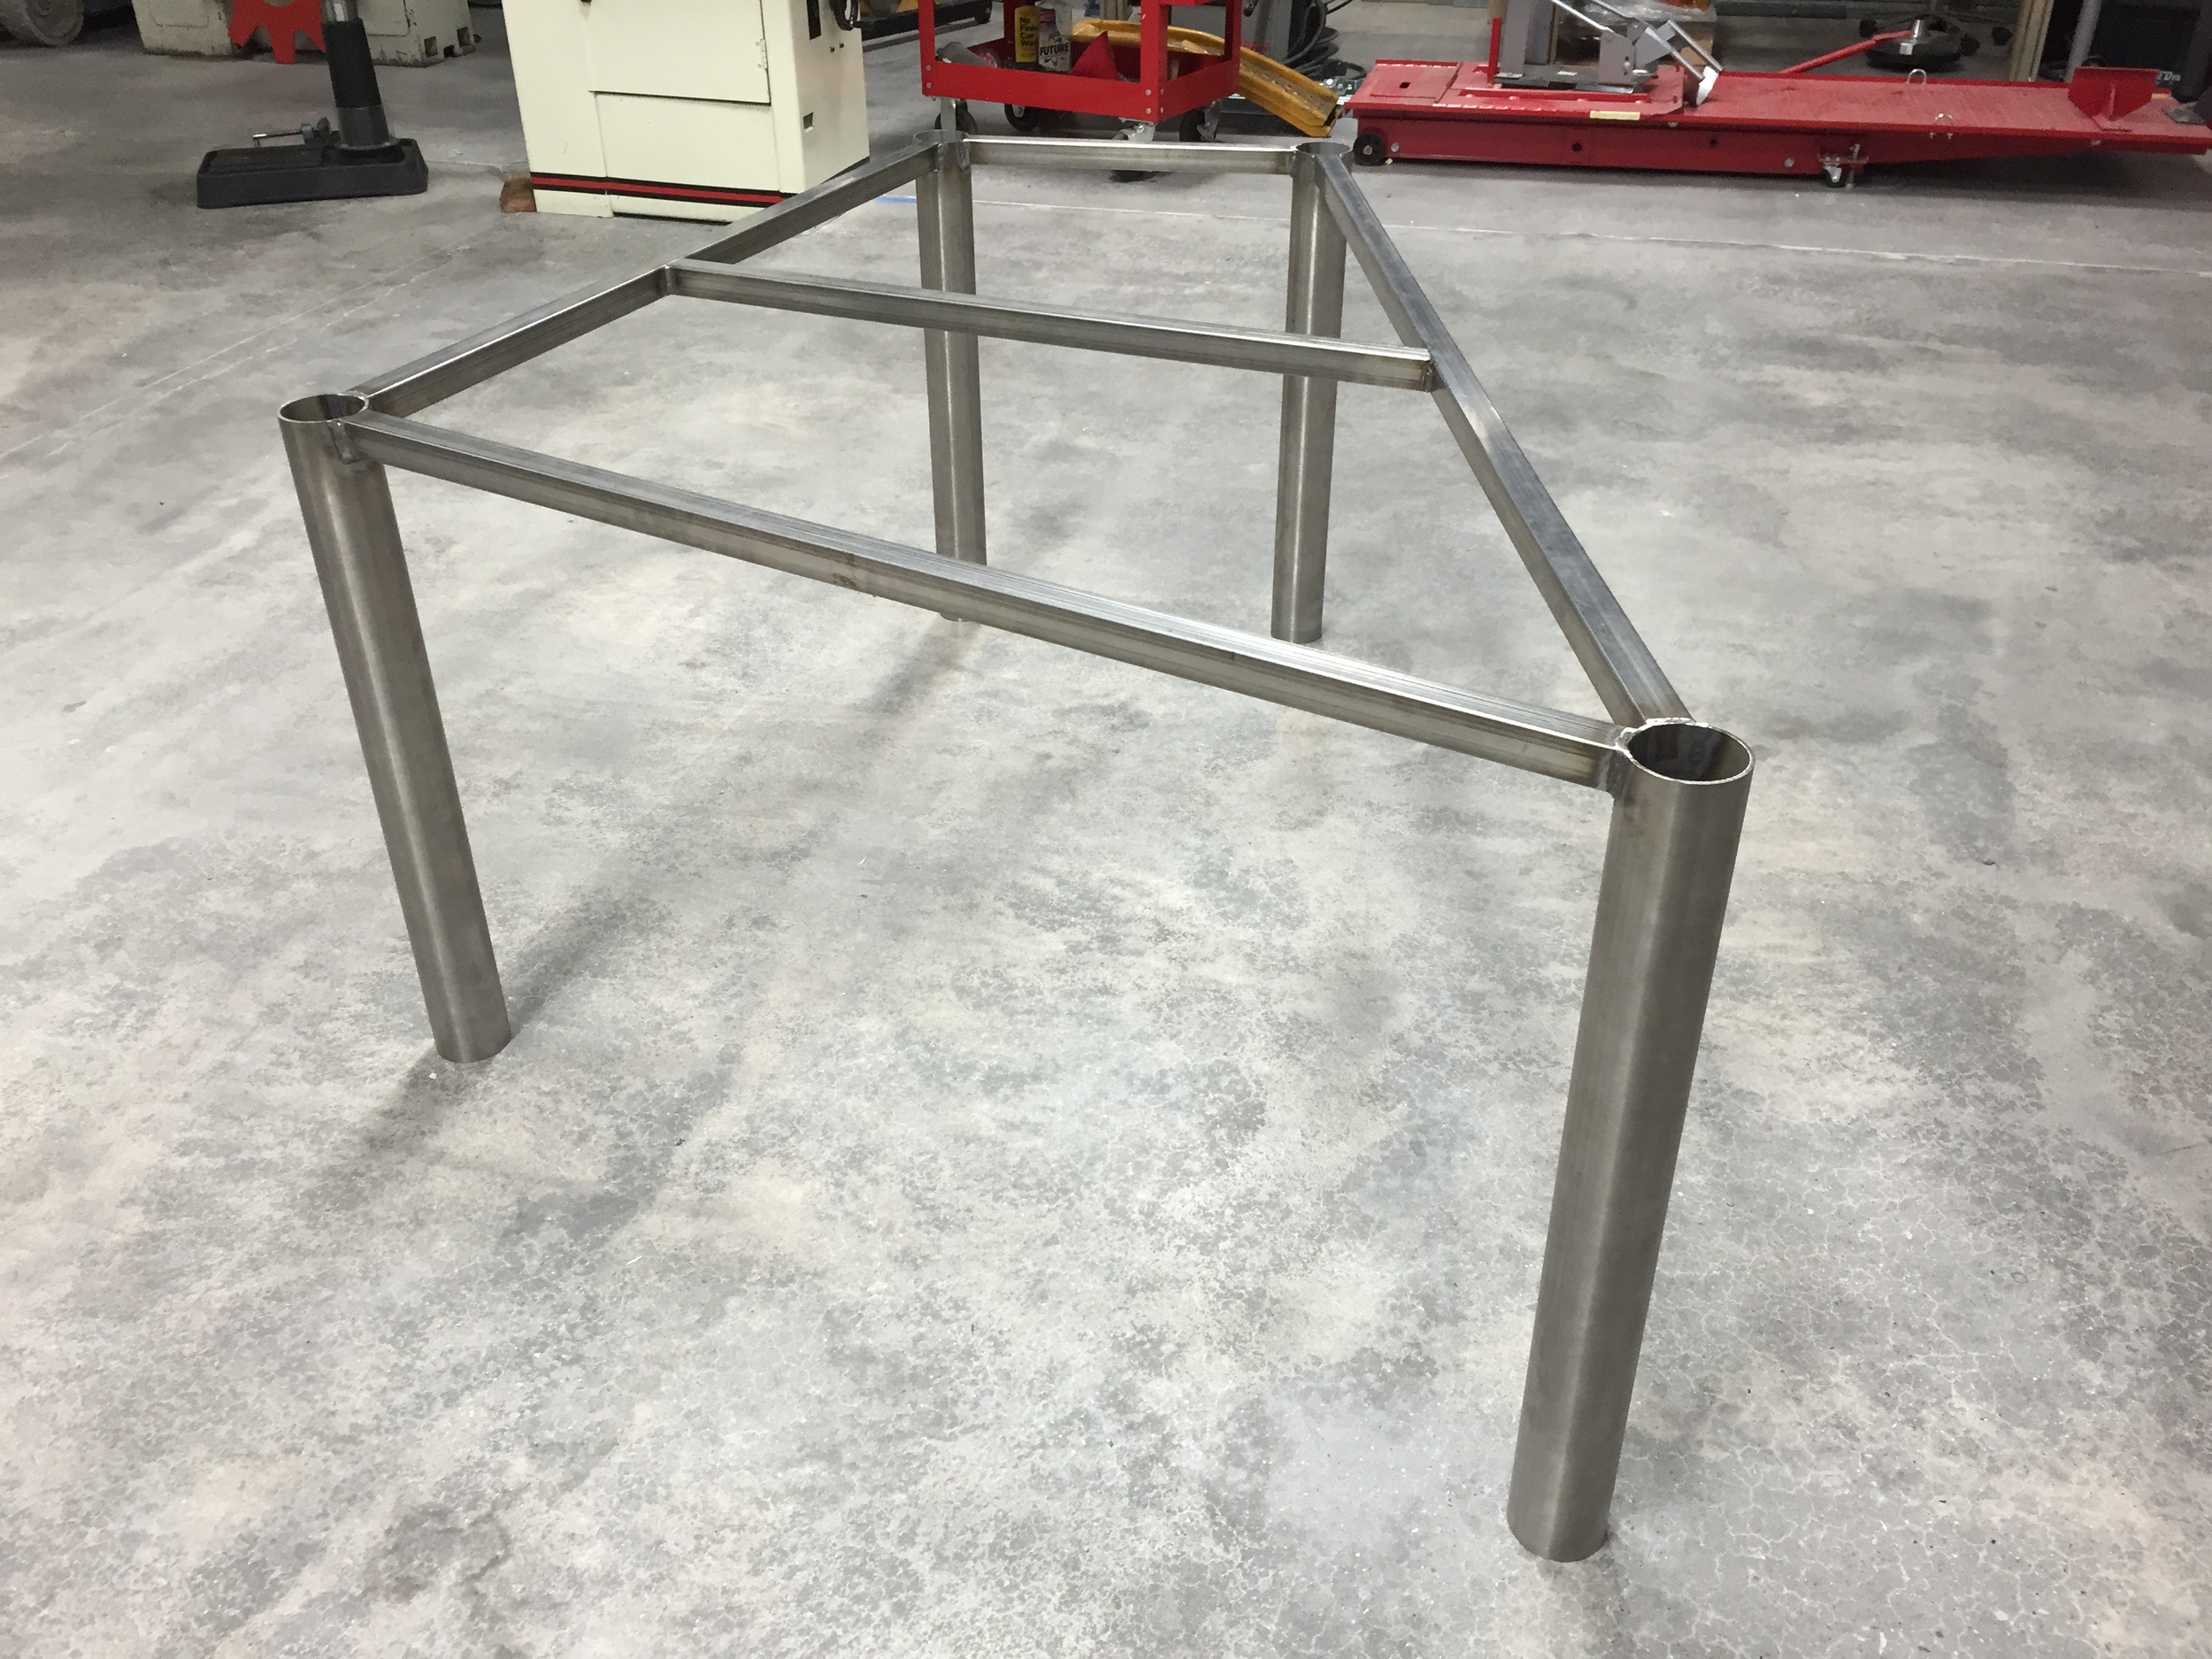
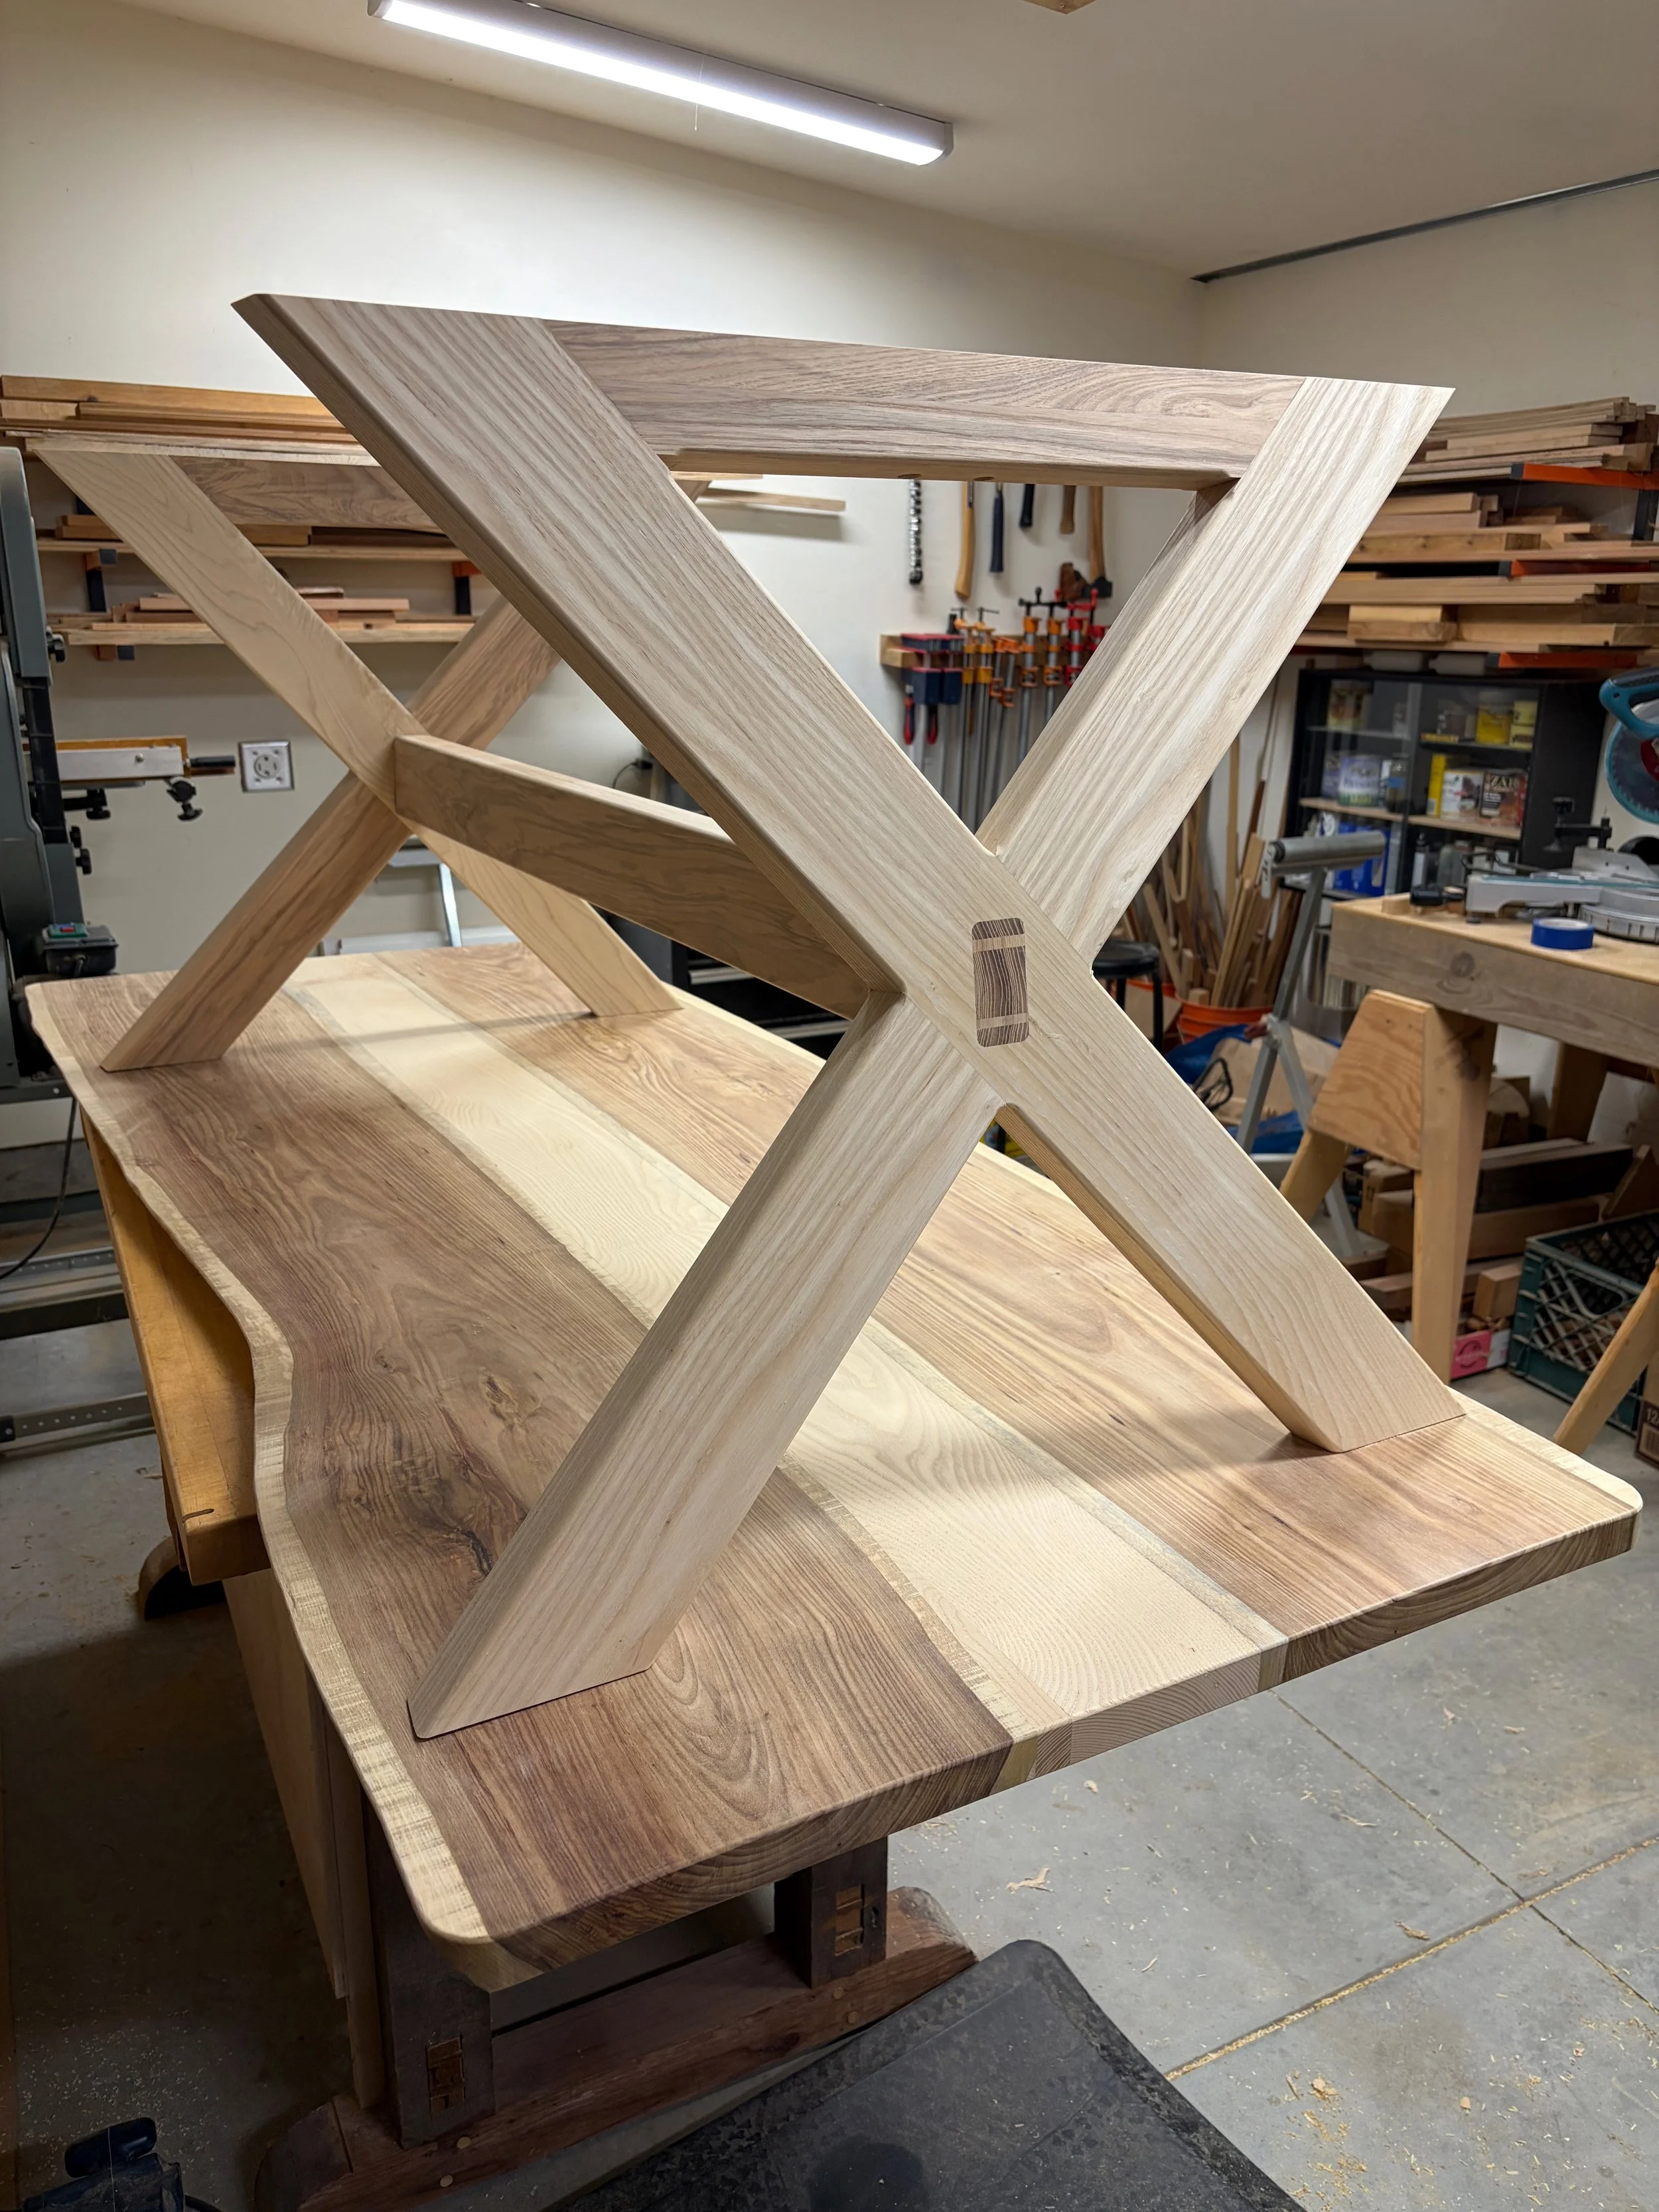
Achieving the right height with a base thats angled in two dimensions required all the trig I could remember from high school.

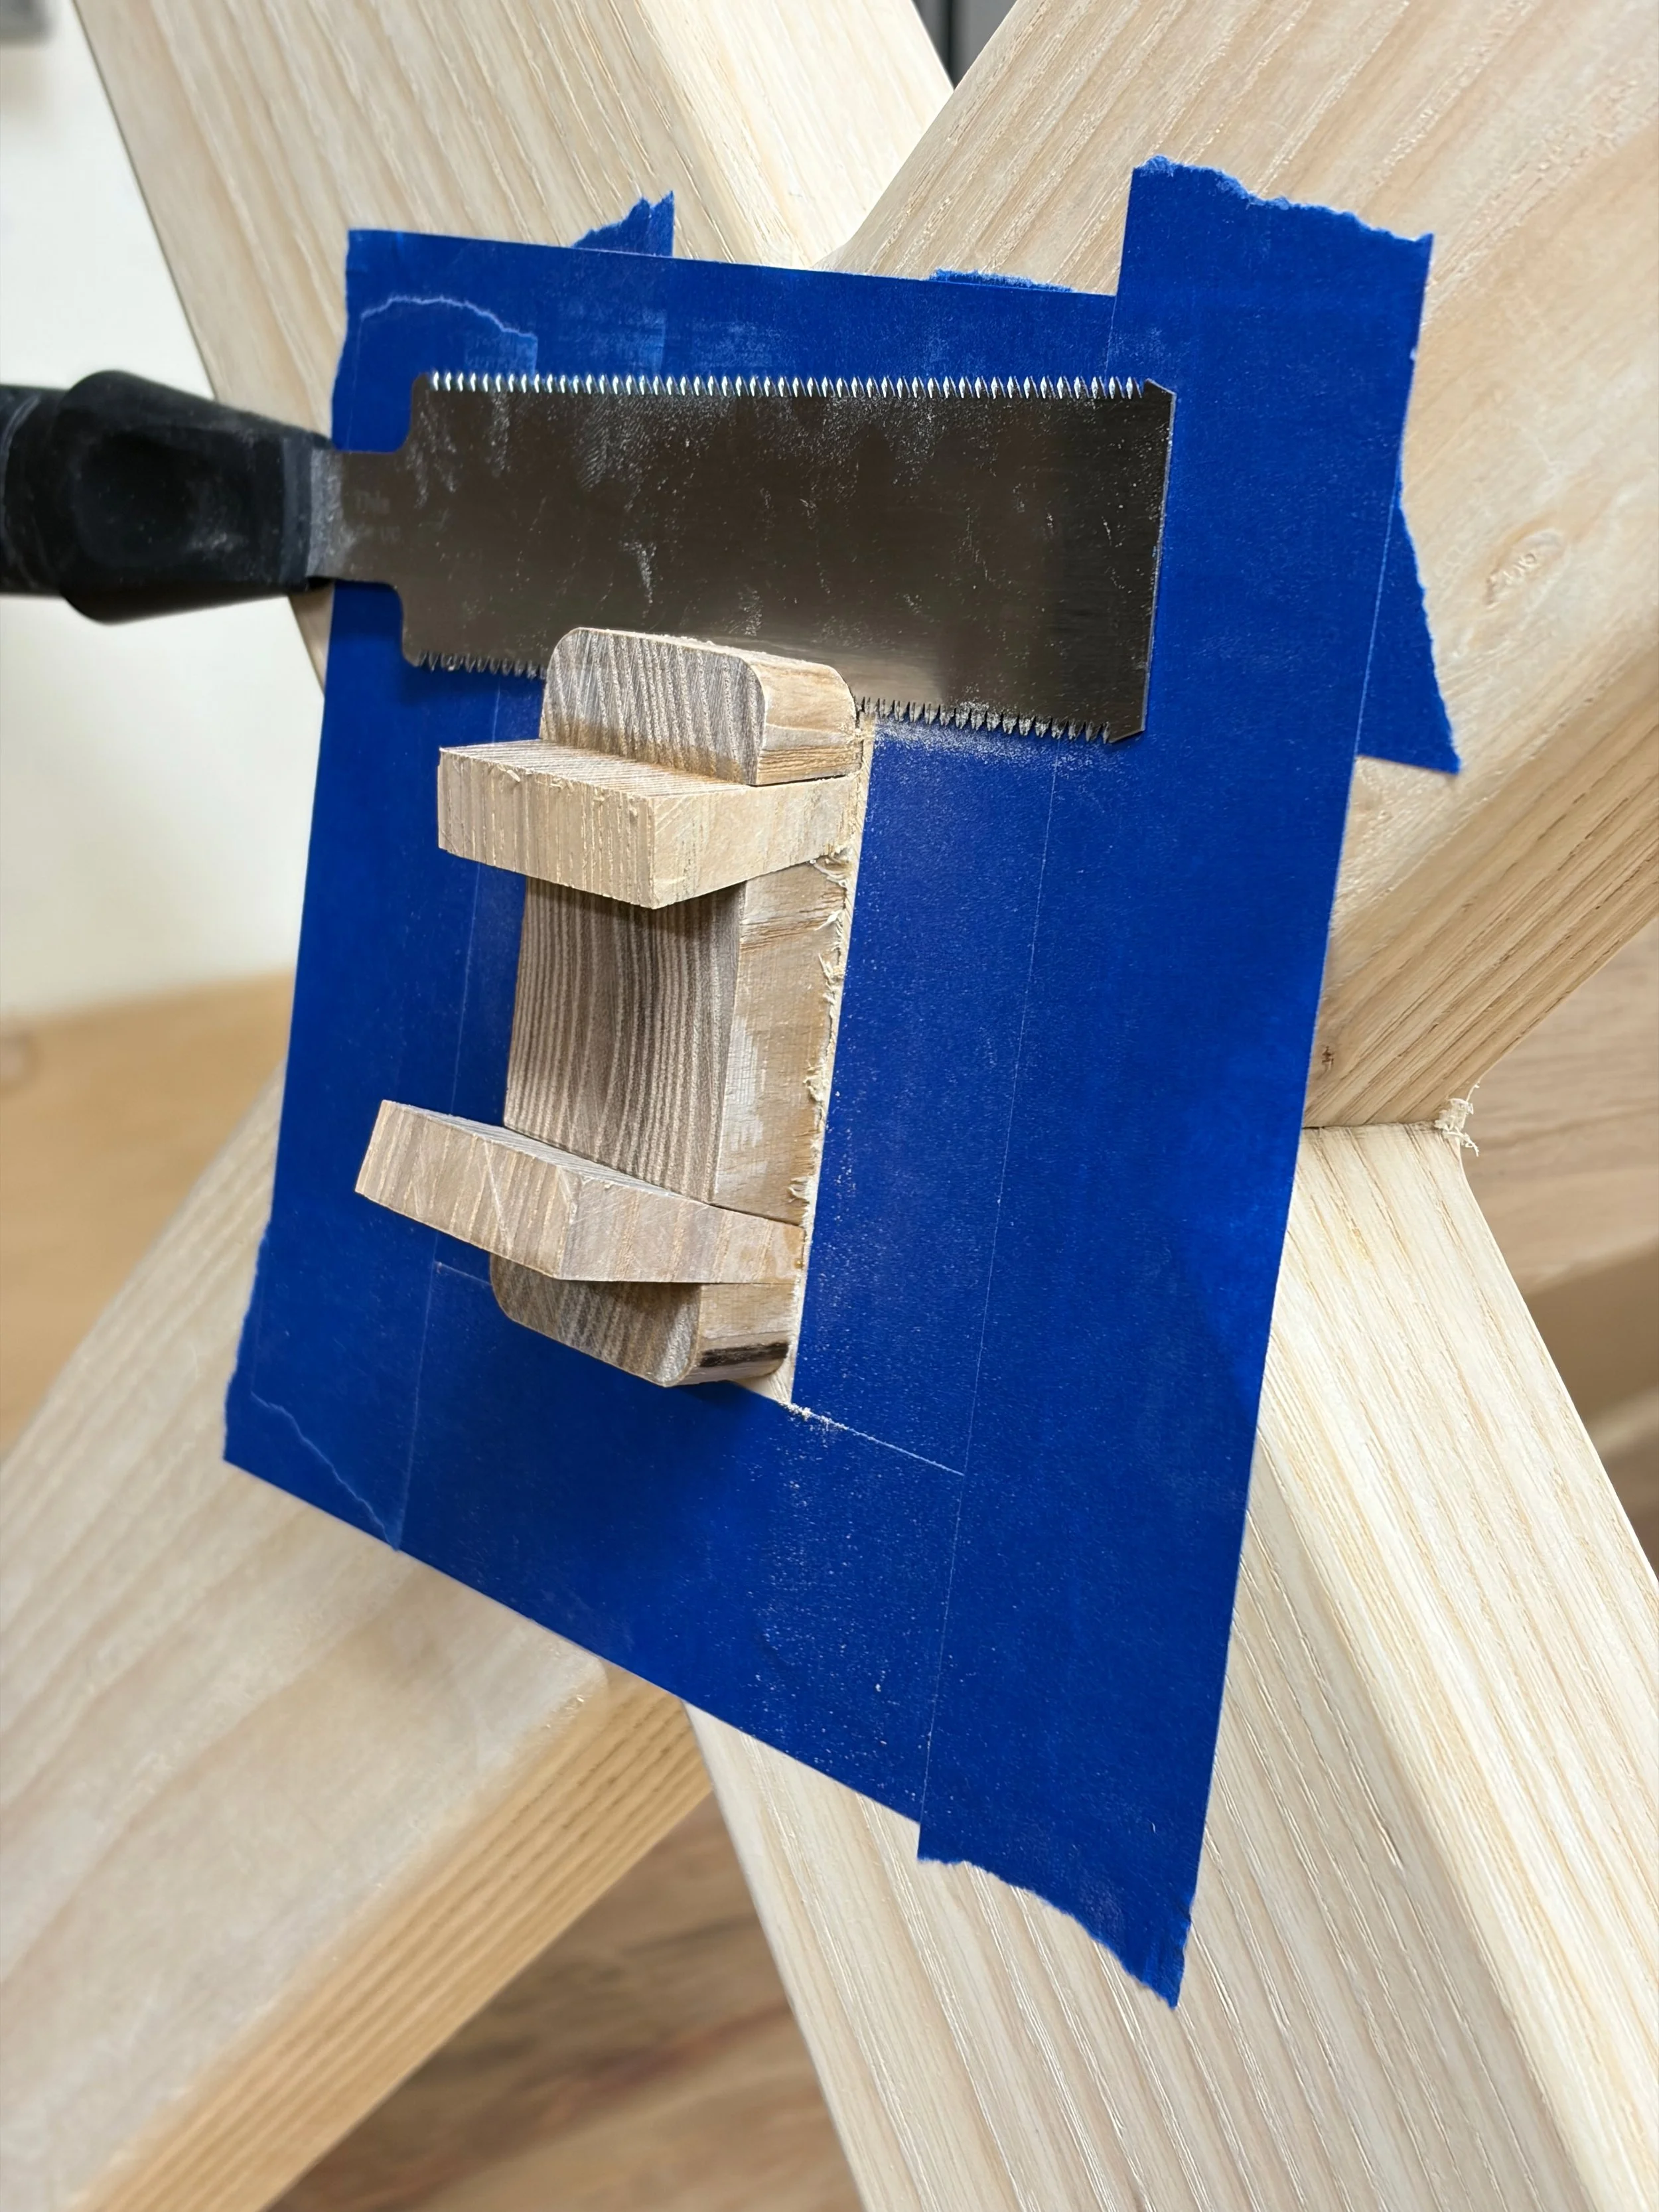
Sawing the tenon flush to the legs.
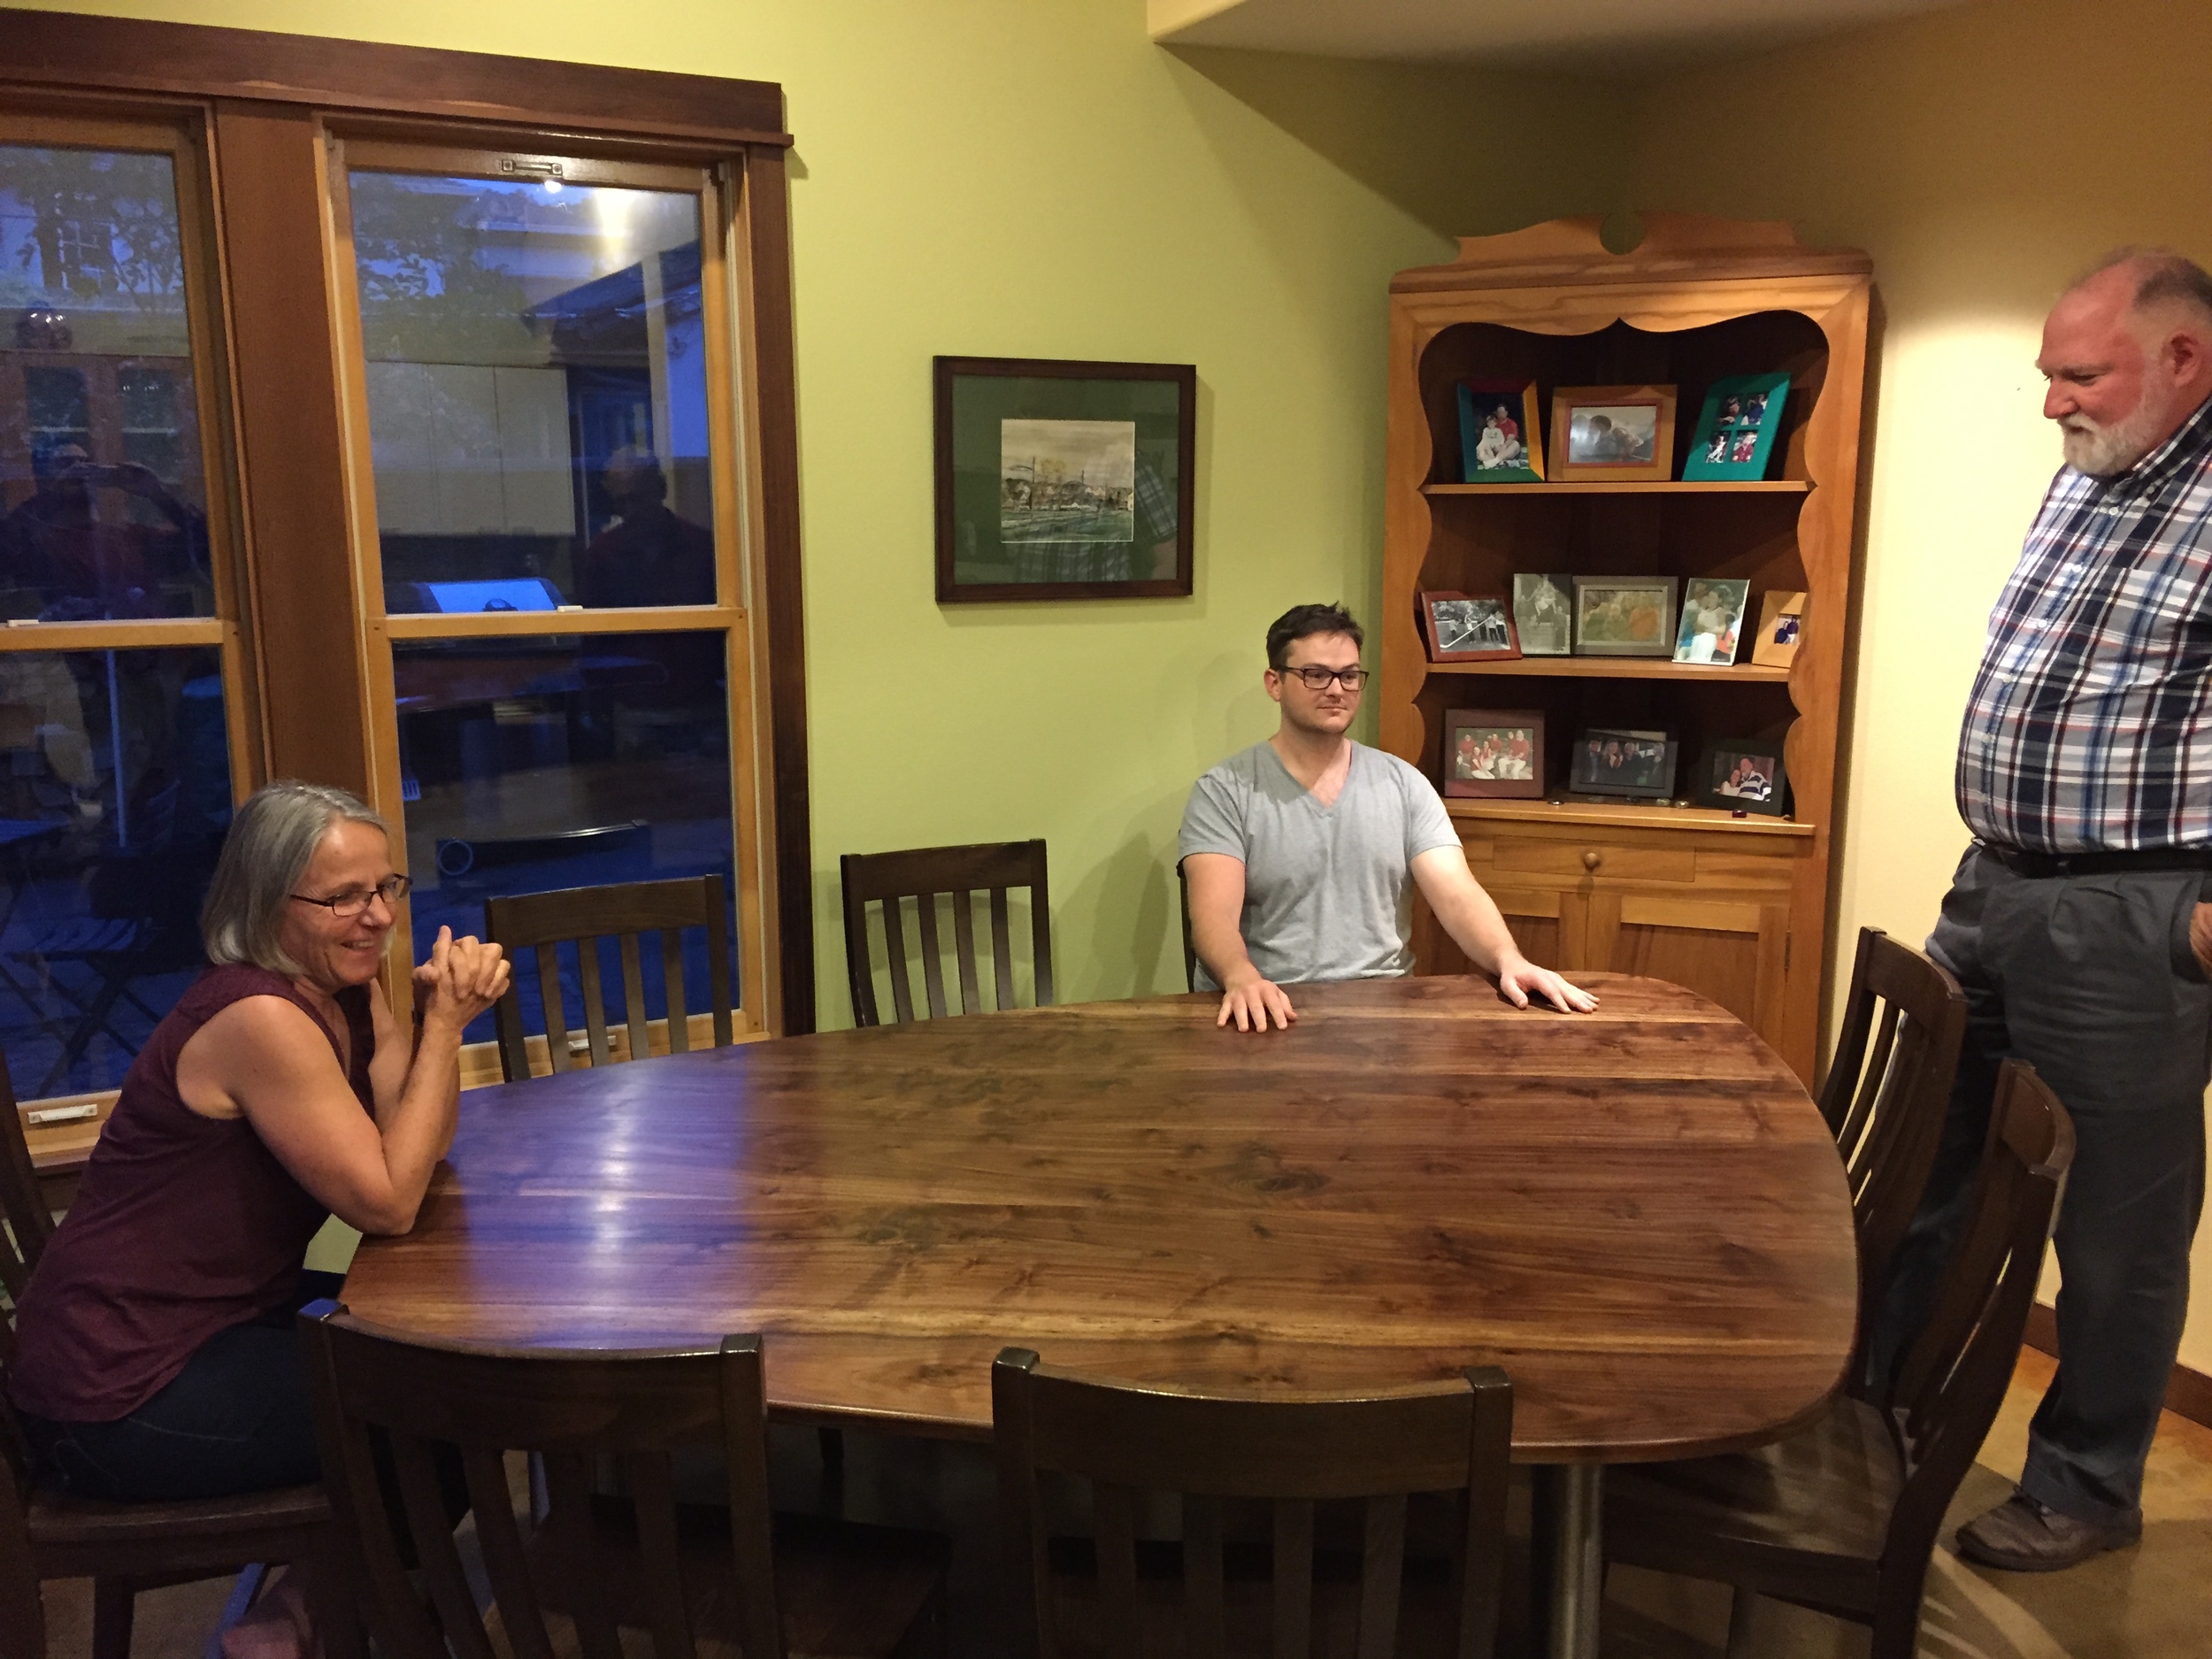
After final shaping

Signed and dedicated

Behind the kayak

Stripping the bottom using long 1/4 inch thick strips I milled from redwood boards.

Stripping the bottom using long 1/4 inch thick strips I milled from redwood boards.

Stripping the top.

Stripping the top.

Closing the gap

Closing the gap

After removing the two halves from the form

After removing the two halves from the form

Painting epoxy on the fiberglass

Painting epoxy on the fiberglass

Fiberglass and epoxy on the exterior

Fiberglass and epoxy on the exterior

Building the skirt lip

Building the skirt lip

Laying carbon fiber on the interior

Laying carbon fiber on the interior

Behind The Rocker

Carving the rough shape of the seat using a gouge

Carving the rough shape of the seat using a gouge

Smoothing the seat using a curved spokeshave

Smoothing the seat using a curved spokeshave

Bending the back spindles after steaming them

Bending the back spindles after steaming them

Turning the back posts on a homemade lathe

Turning the back posts on a homemade lathe

Turning the tenon for the arm rests

Turning the tenon for the arm rests

Steaming the crest rail in a homemade steam box

Steaming the crest rail in a homemade steam box

Carving the mortise for the crest rail in the back post

Carving the mortise for the crest rail in the back post

Cutting the bottom bevel of the rockers on the bandsaw

Cutting the bottom bevel of the rockers on the bandsaw

Fitting the rockers after routing slots in the bottom of the legs

Fitting the rockers after routing slots in the bottom of the legs