

Routing the slot for the truss rod, which keeps the neck straight and allows you to bend it slightly to compensate for seasonal movement of the wood.

Shaping the back of the neck with a spokeshave.

Copper tape isolates the magnetic pickups from ambient radiation and also apparently makes it snail-proof. This was the practice piece I used for making the first guitar body. With a little cosmetic work, it was ready to become a guitar in its own right.

After soldering the electronics - just a couple of pots, caps, and a switch to select between the two pickups, one at the bridge and one at the neck.

Used a thickness planer to get this piece of walnut down to 1/8" thick, then shaped it to form the pickguard, and finally put a couple coats of lacquer on to harden it.

After inserting the truss rod, and laminating the rosewood fretboard, I inset the perloid dots. I bought the rough fretboard with the fret notches already cut, since that requires a level of precision I am not prepared for.
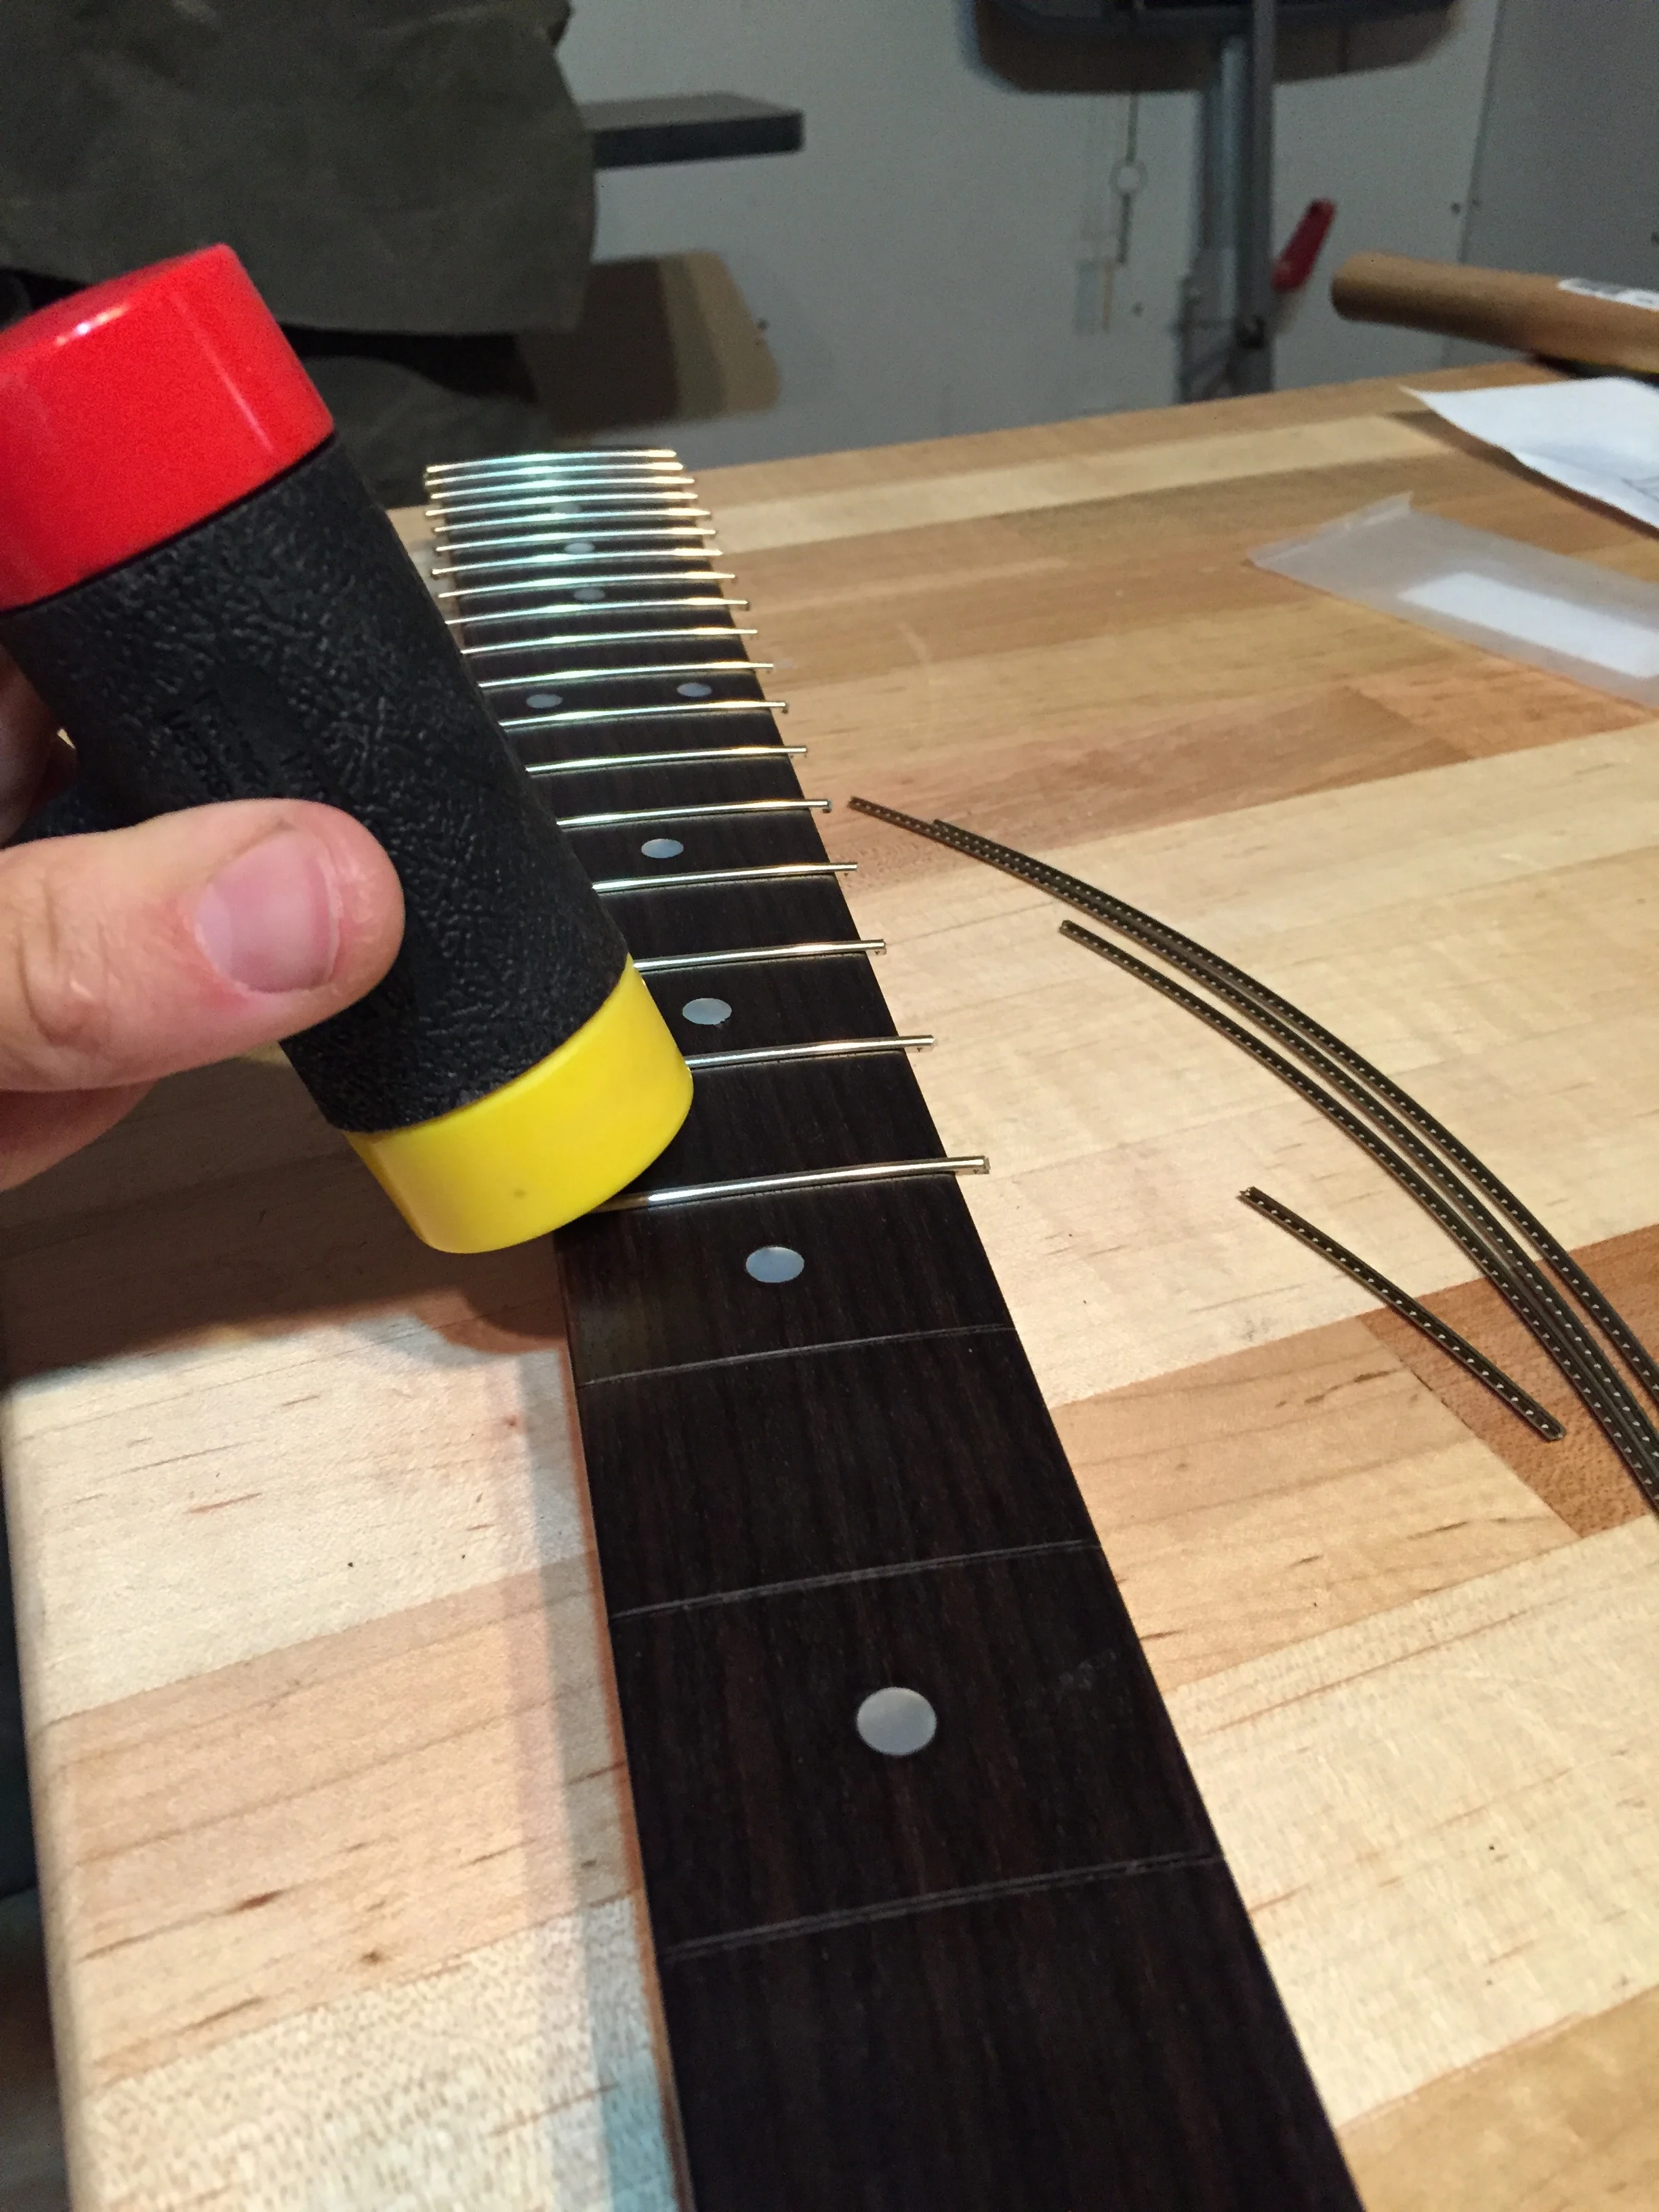
Press fitting the frets after rough sizing them from some pre-radiused fretwire.

Trimming the frets flush using special end nippers. A little bit of filing was required to bevel the ends and get rid of sharp burrs.

The finished product, before adding the strings.